WPAN IoT Use Case: IEEE 802.15.4, CoAP and Azure
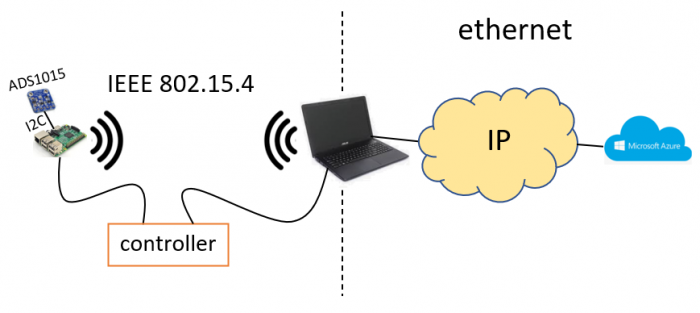
Netualizer can also be used to set up a real life WPAN IoT topology. For example:
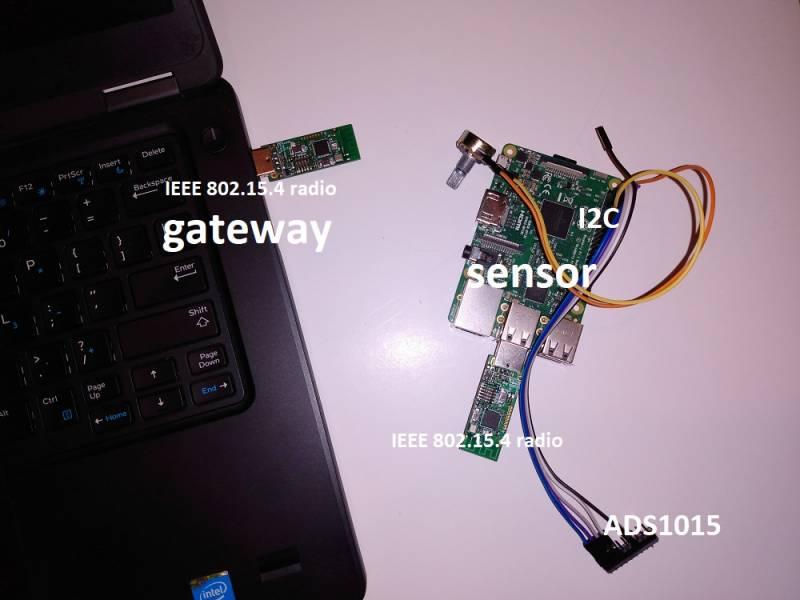
In this case, an embedded device (a raspberry pi) running a Netualizer agent is connected through an I2C interface to an 12-bit Analog-to-Digital (ADC) converter ADS1015. The readouts generated by the ADC are encapsulated by CoAP and transmitted over IEEE 802.15.4. The frames eventually arrive at a laptop that also runs a Netualizer agent. The readouts are decapsulated and transmitted over MQTT to a Microsoft Azure IoT Hub. As in other examples, once the controller programs and deploys the agents, it is not needed anymore. The real scenario looks like:
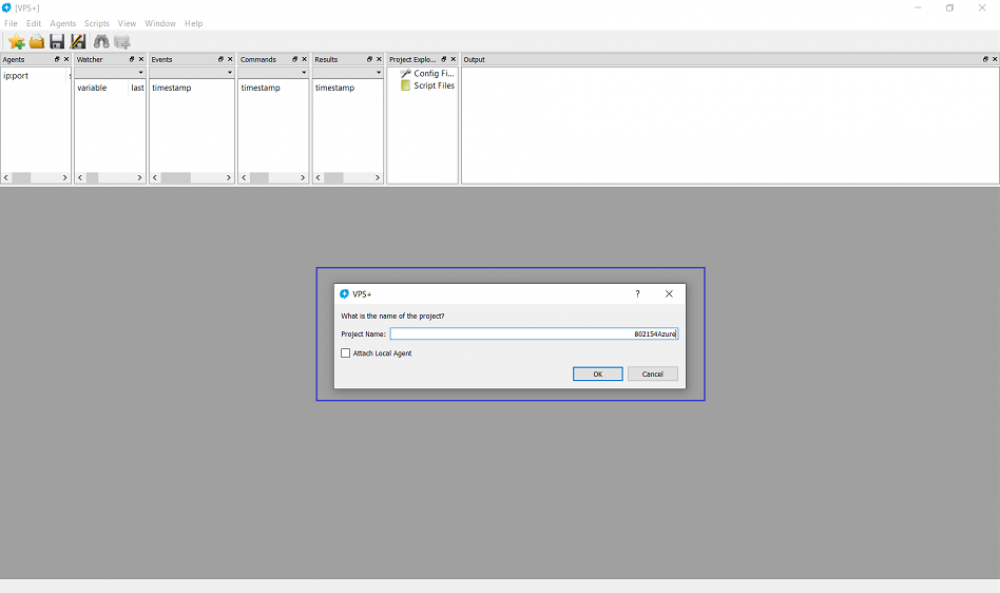
First, let's create a new project by clicking on File ⇒ New ⇒ Project. Name it 802154Azure. Make sure that the local built-in agent does not get attached (uncheck box):
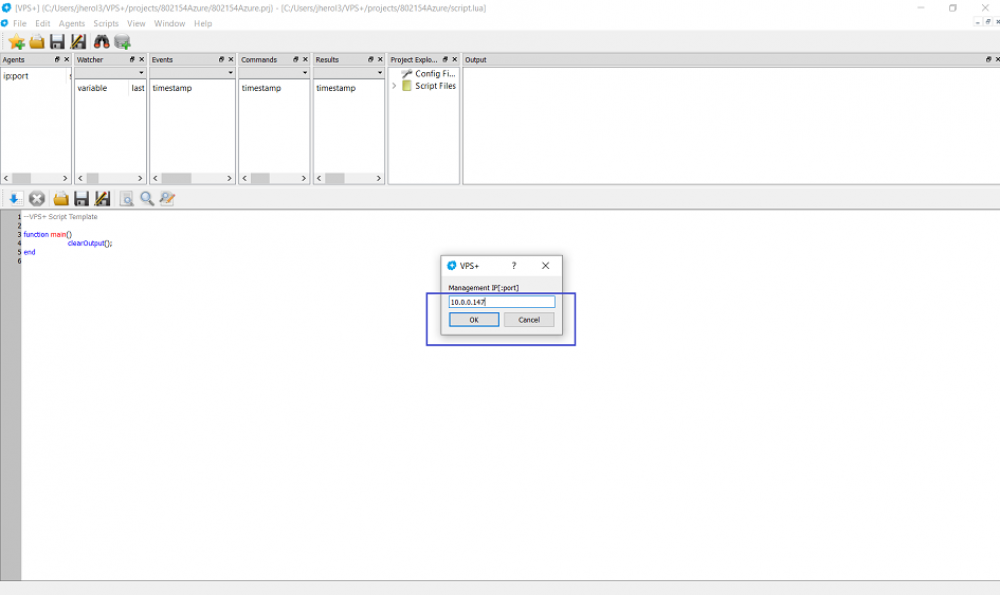
Then attach the agent running on the device sensor by clicking on Agents ⇒ Add Agent and entering the management IP address of the raspberry pi that runs the Netualizer agent:
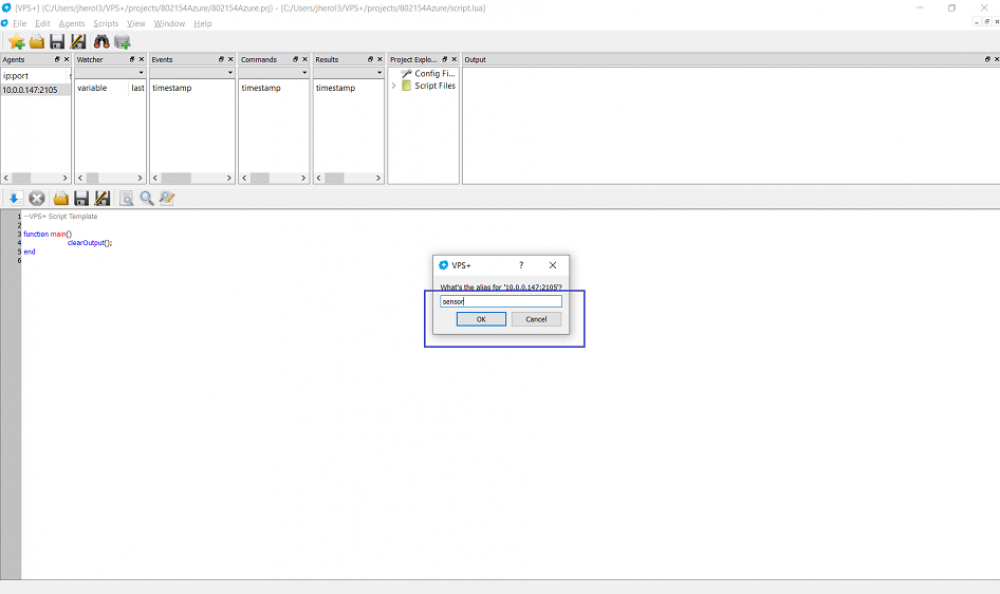
Double click on the agent entry and name it sensor:
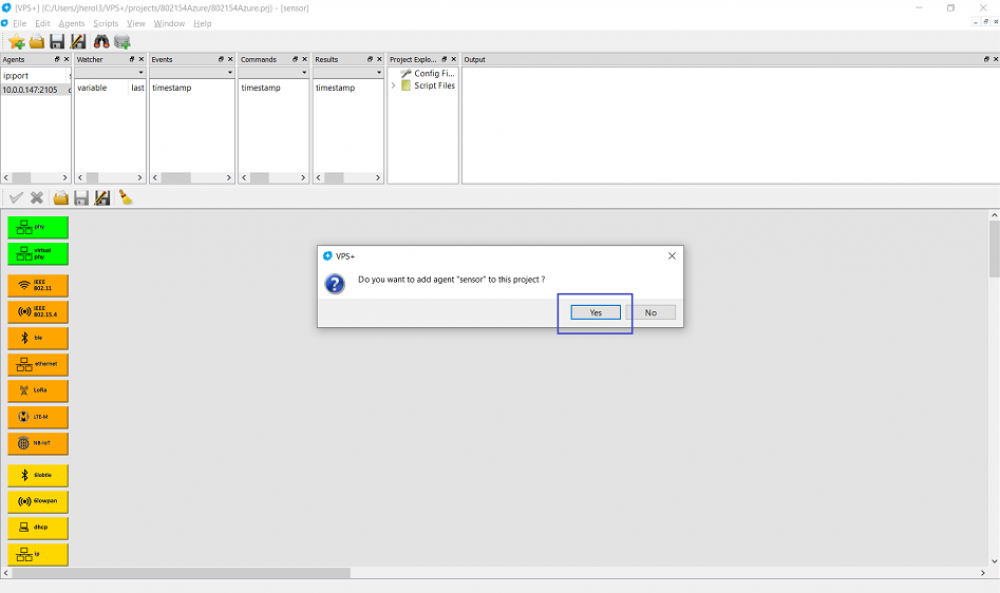
Attach the agent to the project:
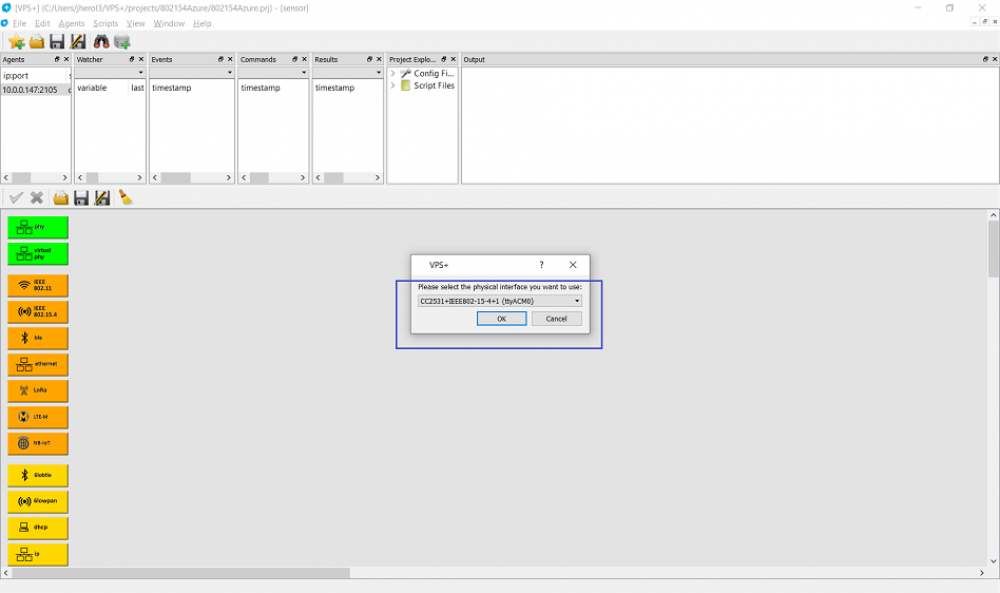
Create a physical link layer and select the IEEE 802.15.4 radio:
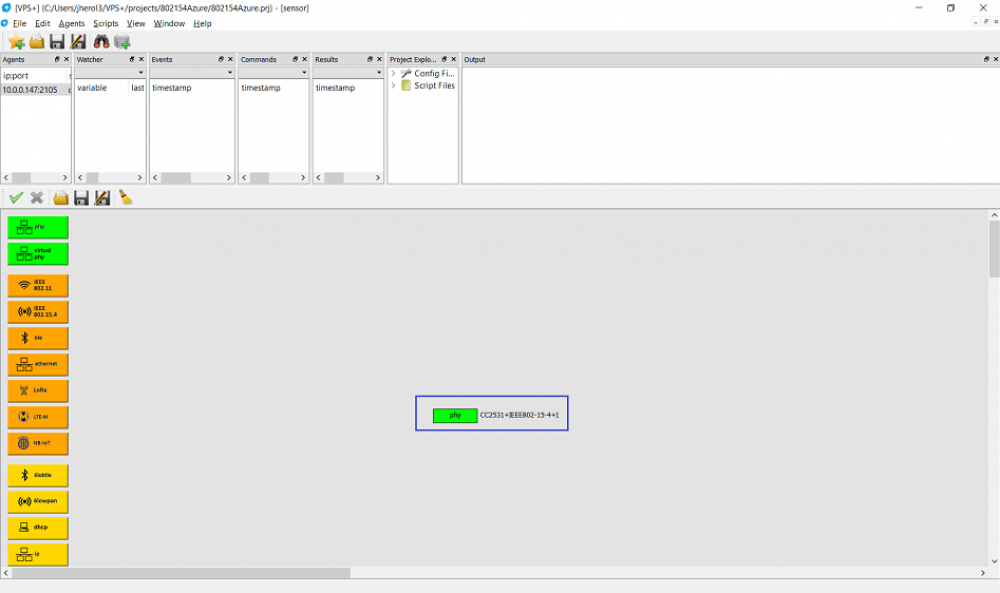
And place it on the configuration:
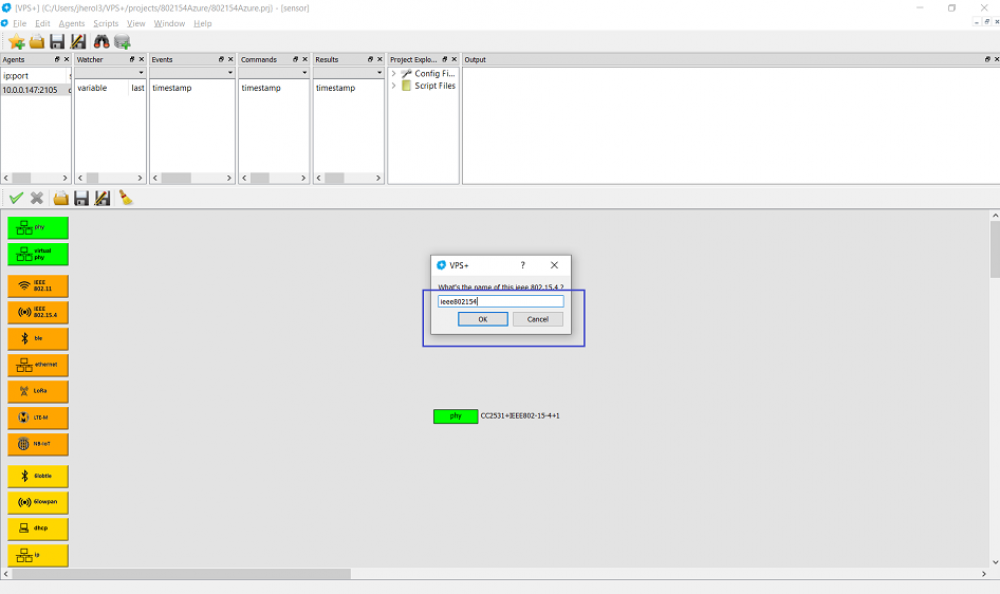
Then let's create an IEEE 802.15.4 layer and call it ieee802154:
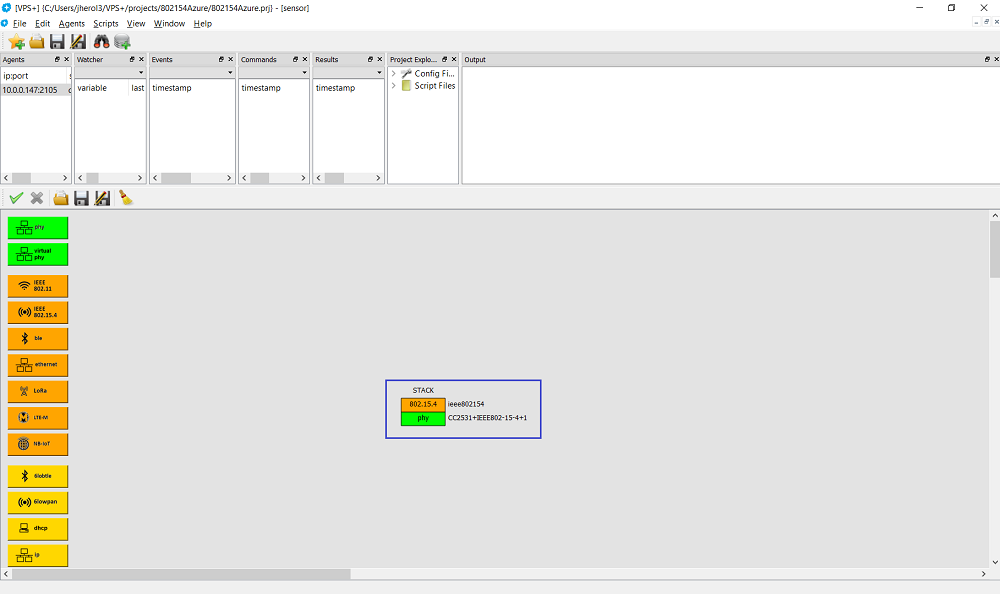
Place it on top of the physical layer:
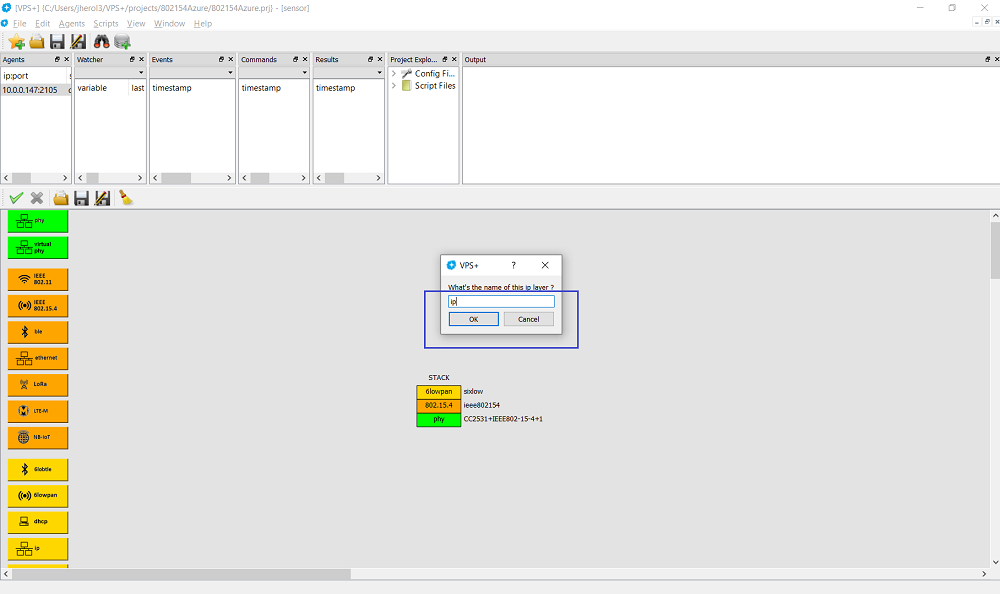
Similarly, create an 6LoWPAN layer, call it sixlow, place it on top of the ieee802154 layer. Then create an IP layer and name it ip:
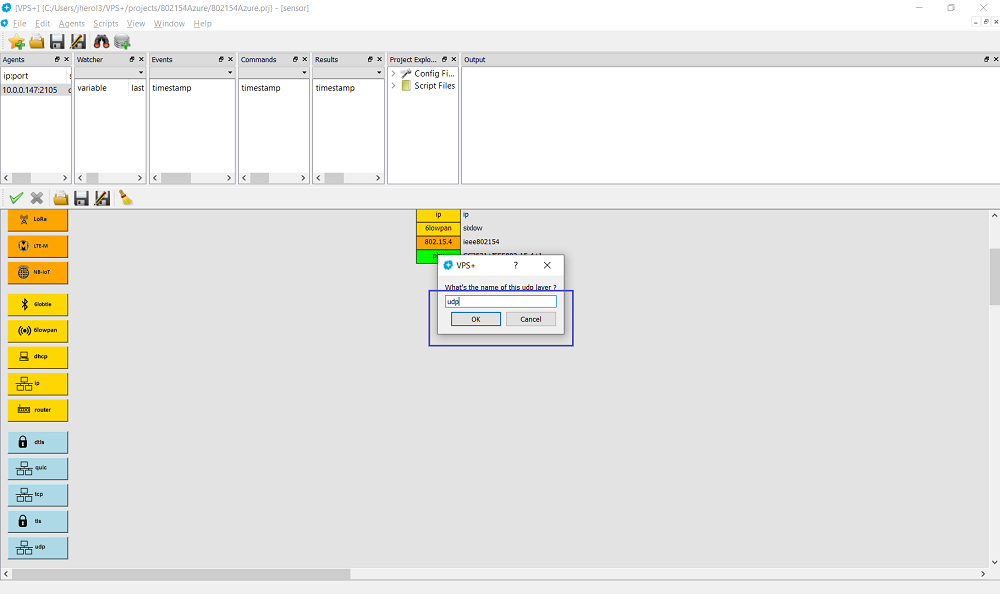
Put the ip layer on top of the sixlow layer and create a new UDP layer and name it udp:
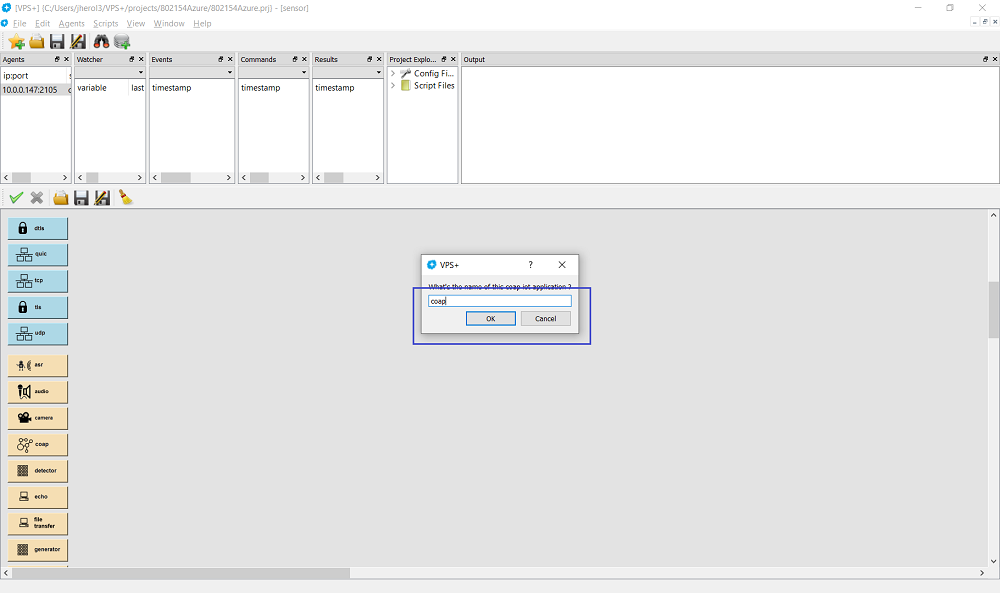
Place the UDP layer on top of the IP layer and create a new CoAP layer. Call it coap:
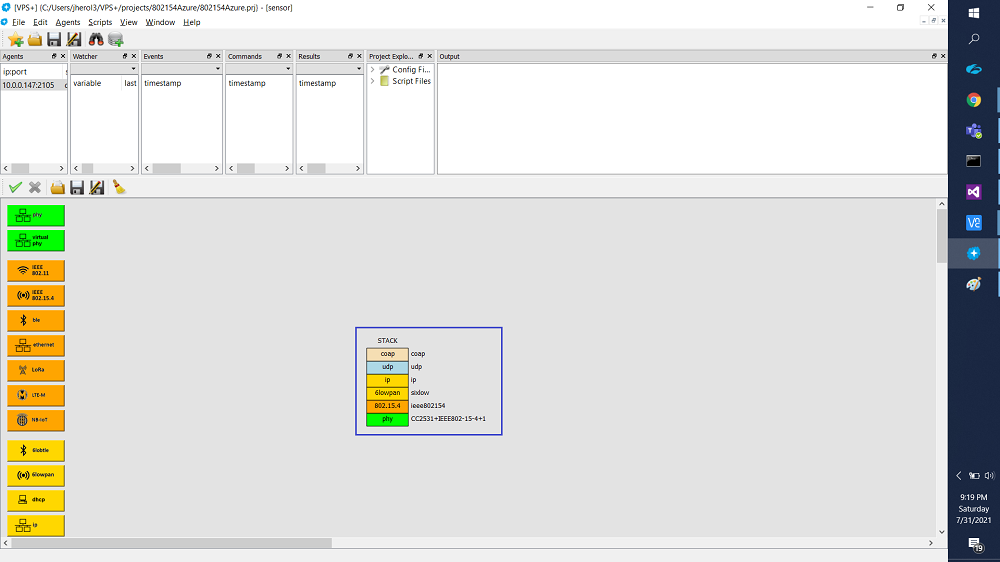
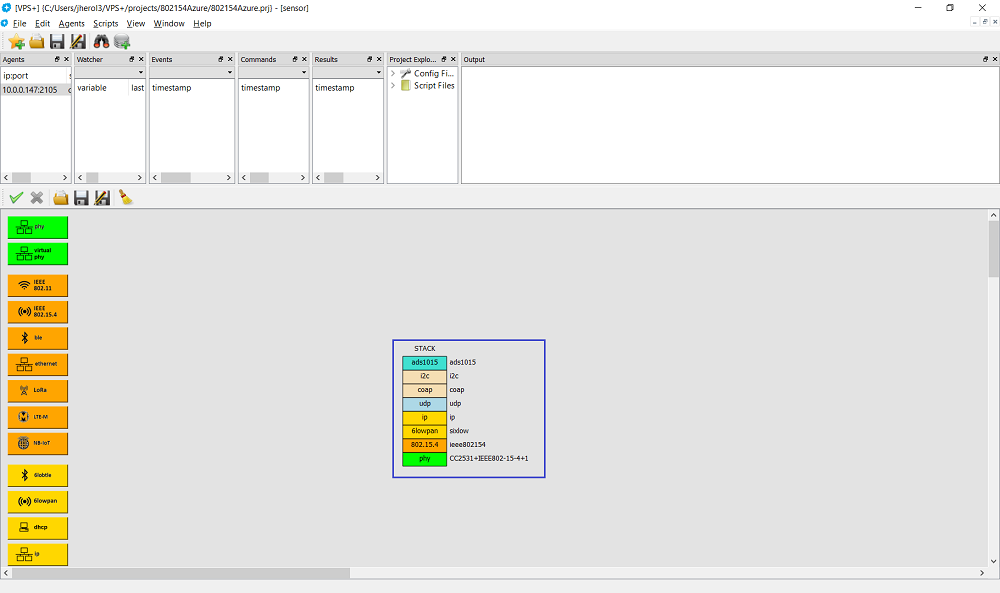
Put the coap layer on top of the udp layer. The stack should look like:
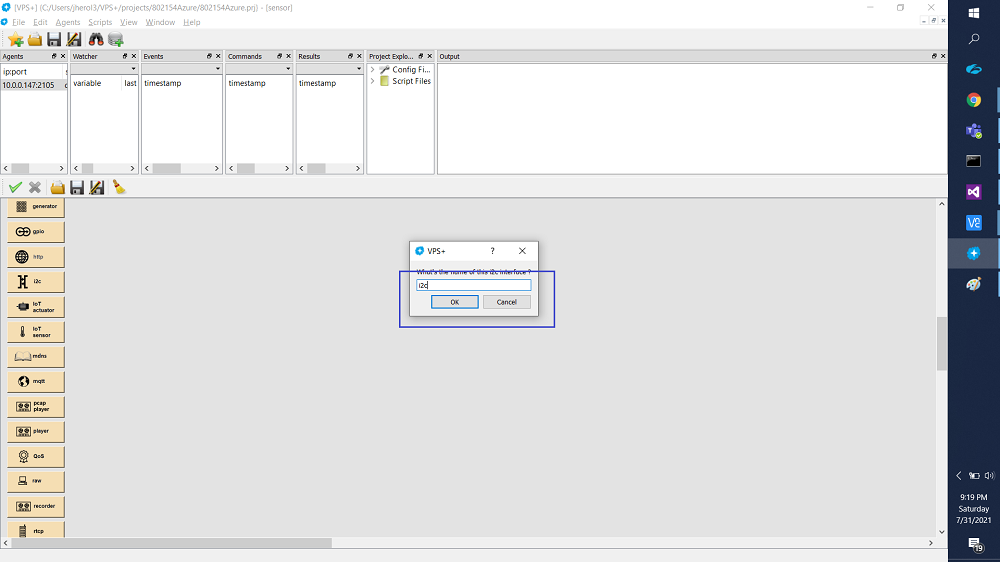
Then create an I2C interface and call it i2c:
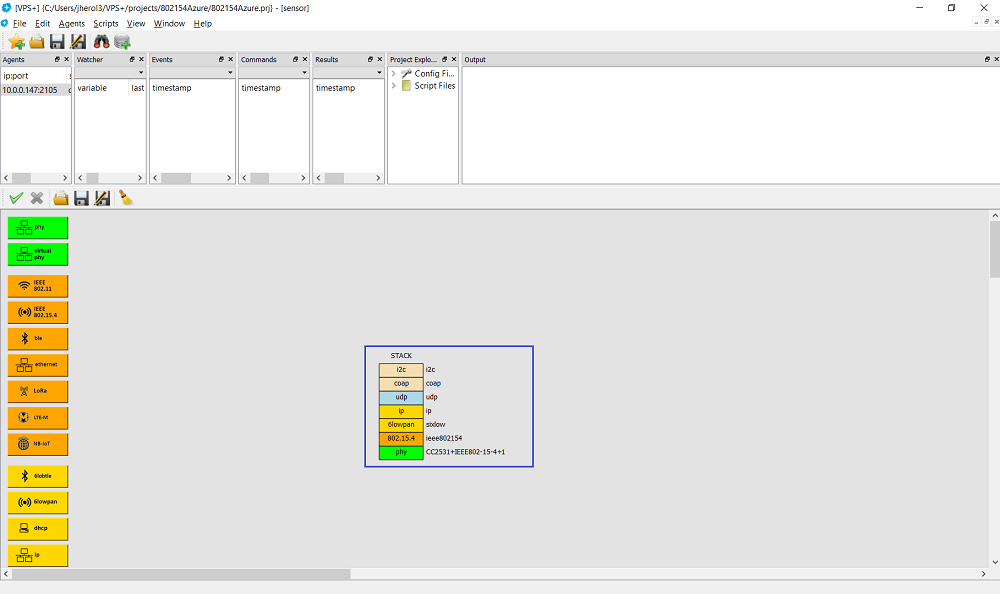
Place it on top of the coap layer:
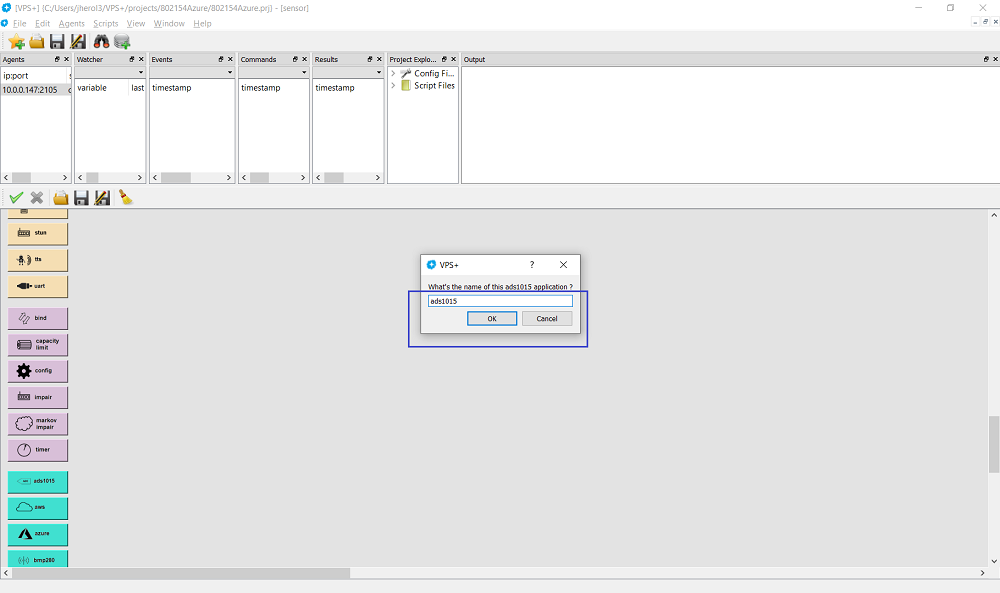
Next, let's create an AD1015 helper layer and name it ads1015:
This finalizes the full stack:
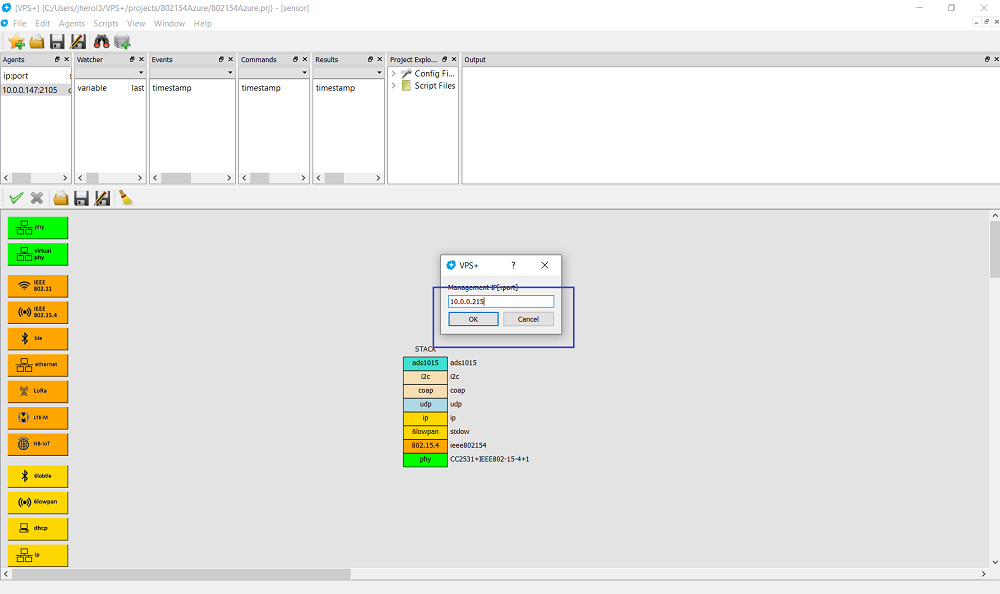
Now, let's add the other Netualizer agent running on the laptop by clicking on Agents ⇒ Add Agent and entering the management IP address:
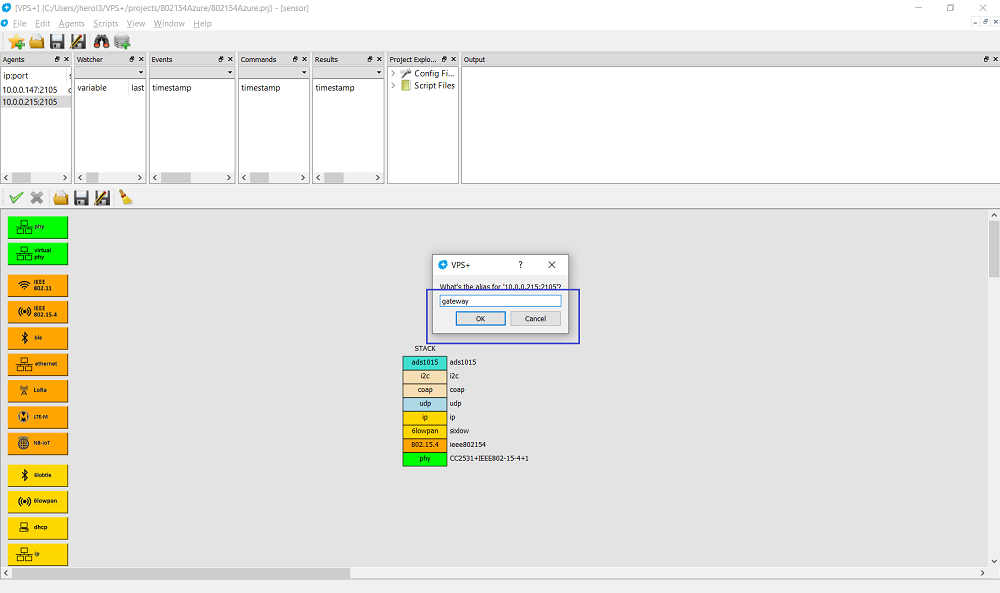
Double click on the agent entry and name it gateway:
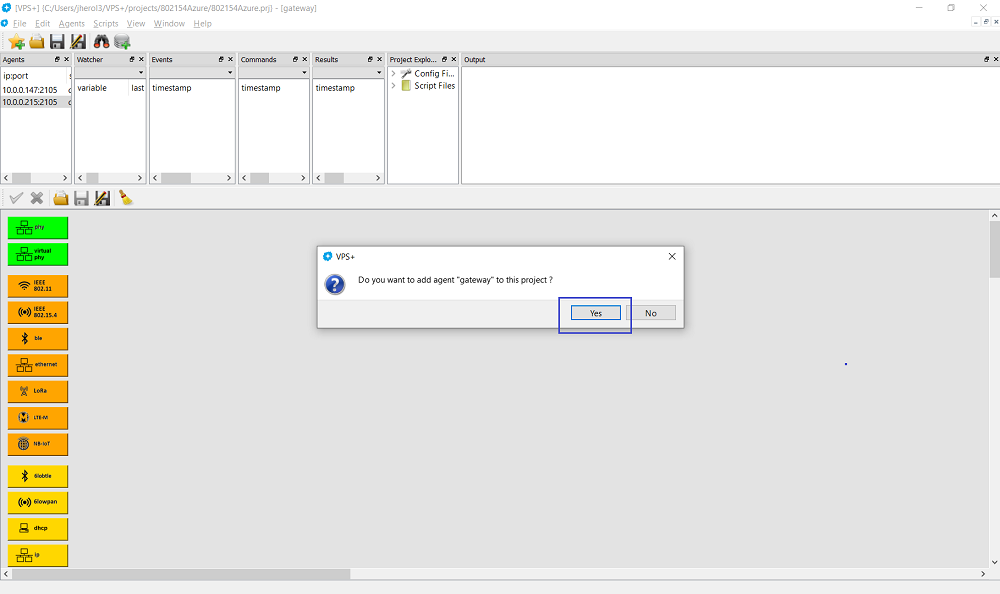
Add the agent to the project:
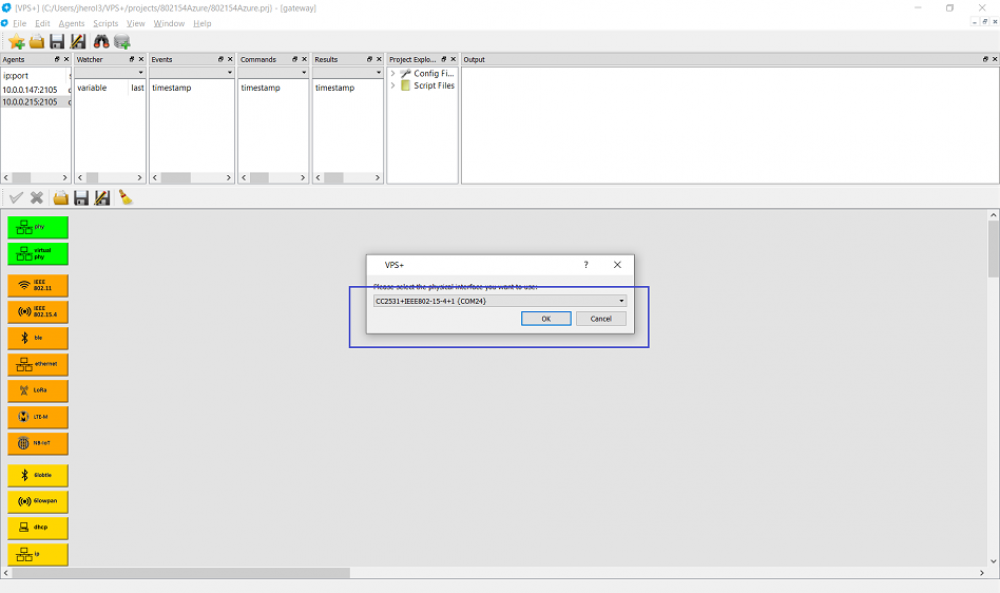
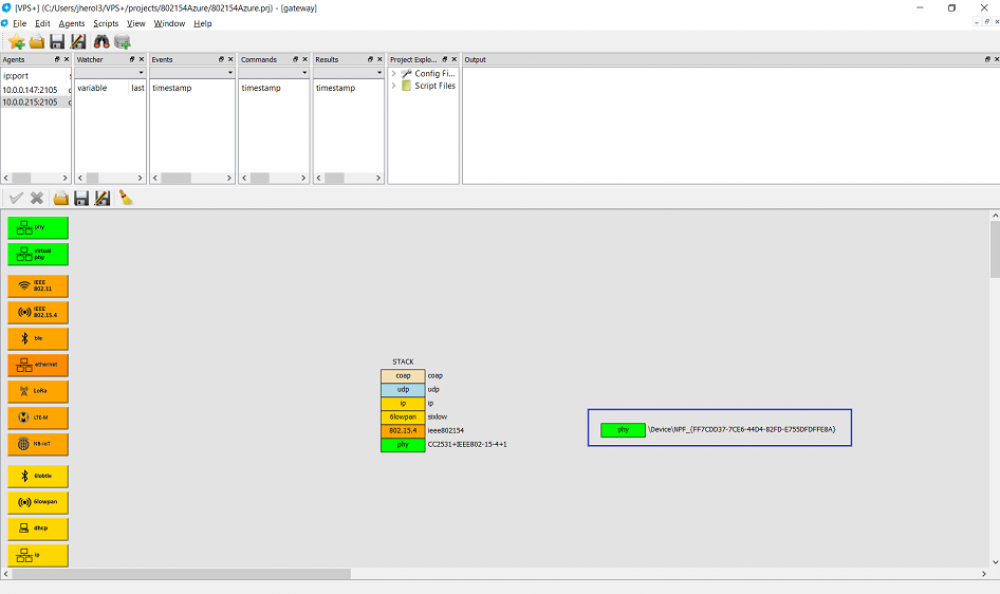
Create a physical layer and select the IEEE 802.15.4 radio:
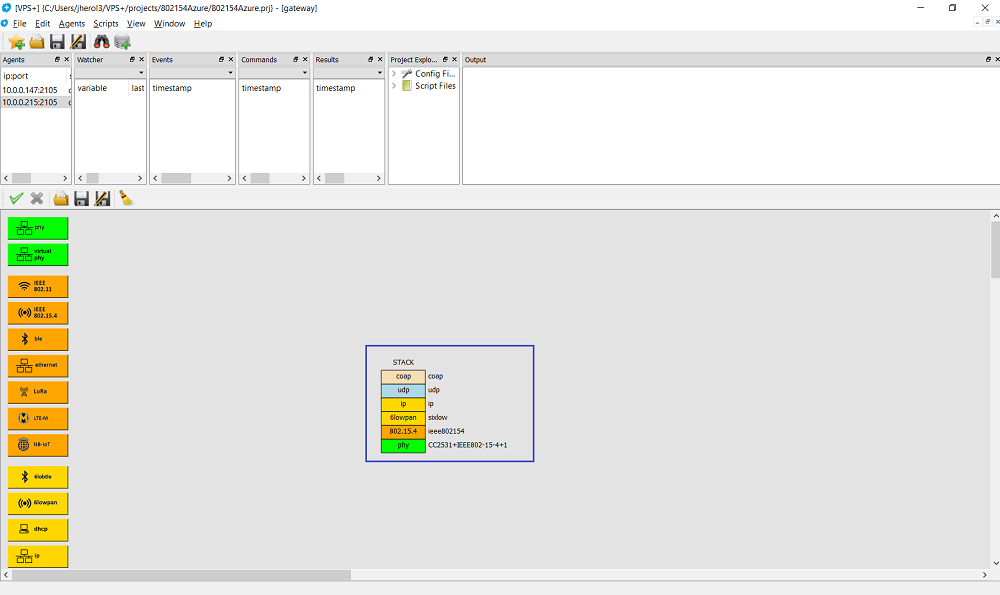
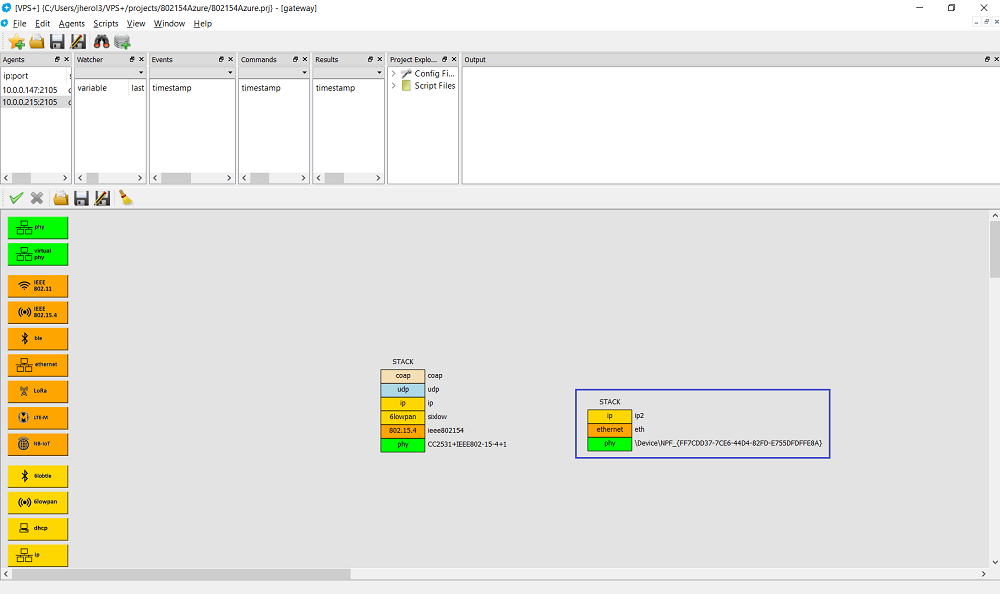
Then continue to build the whole stack up to the CoAP layer:
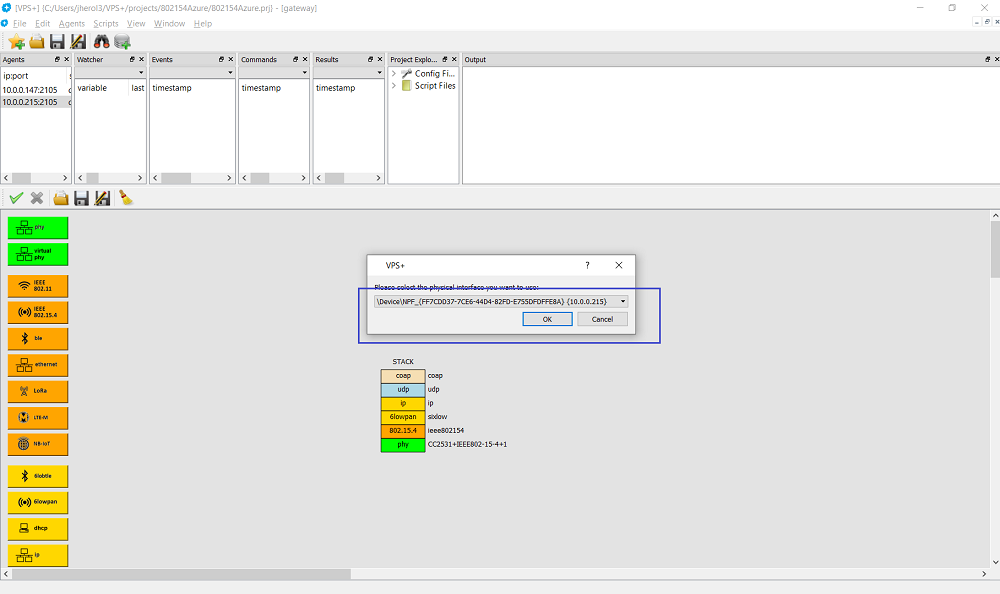
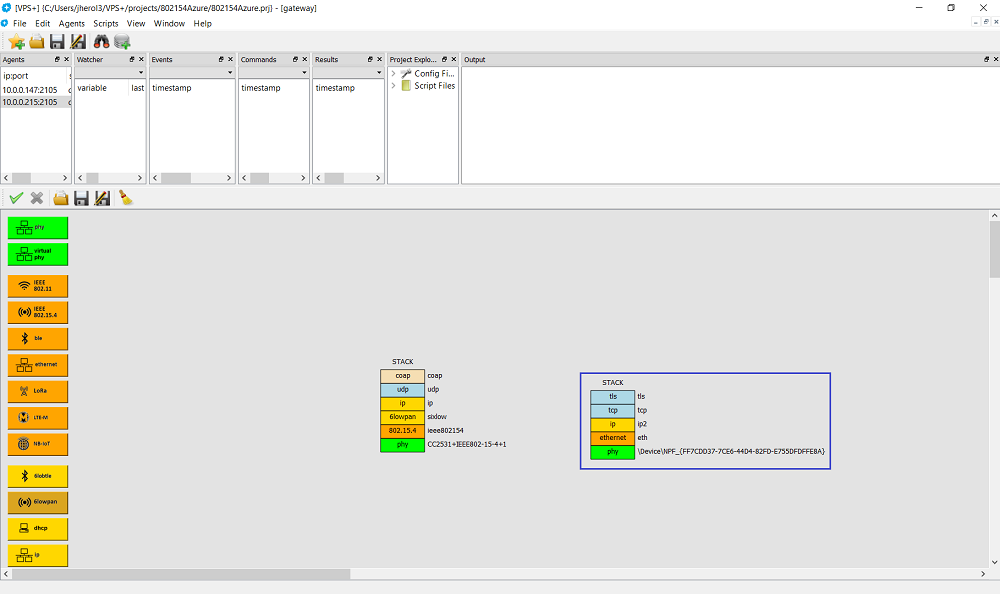
Now, let's build the ethernet based stack. Click on the physical layer and select the ethernet interface:
Place it on the configuration;
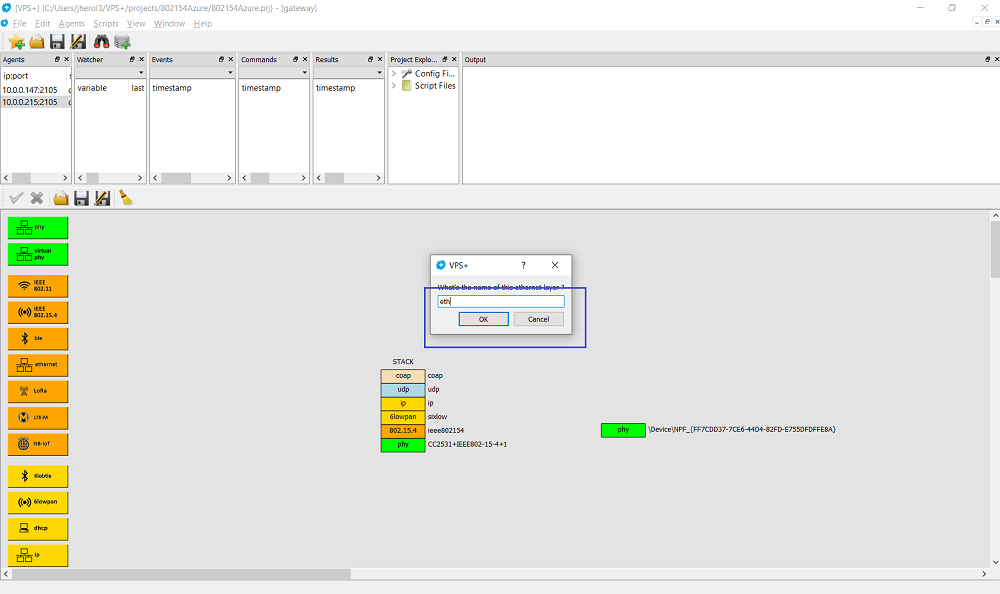
Click on the ethernet layer and name it eth:
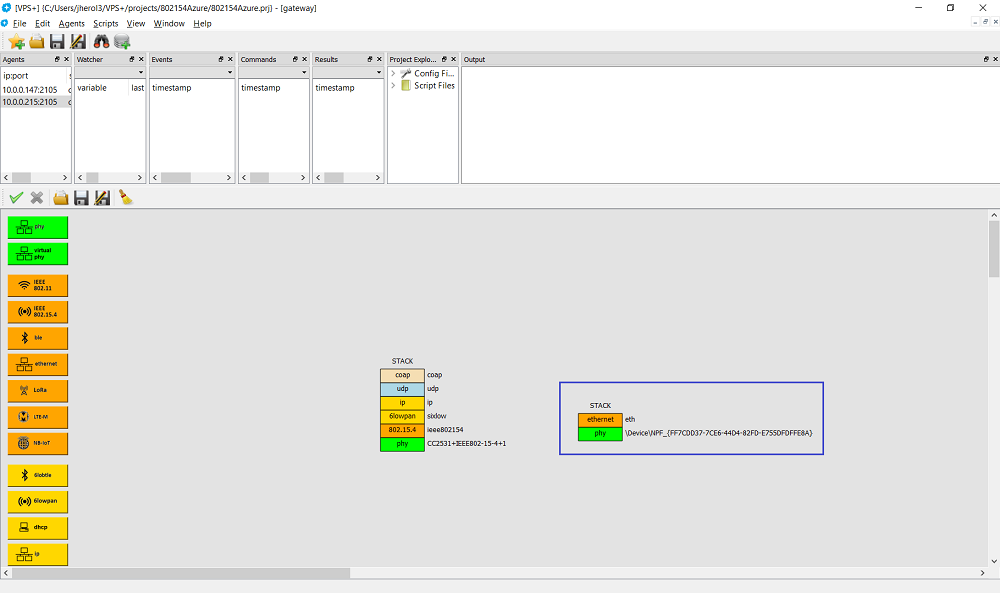
Put it on top of the physical layer:
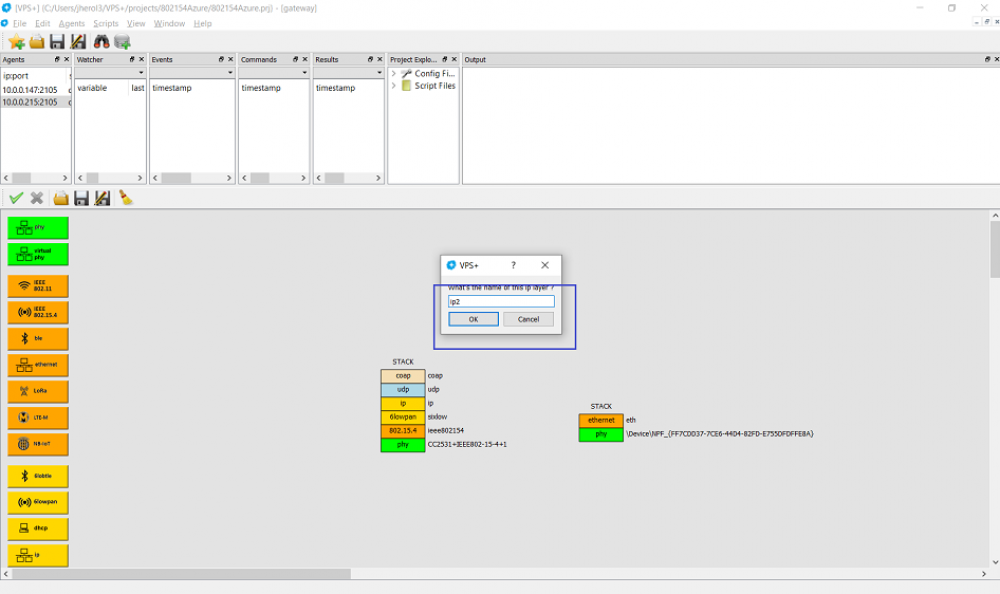
Then let's create an IP layer and call it ip2 (since the ip layer was created on the IEEE 802.15.4 stack):
Set the ip2 layer on top of the eth layer:
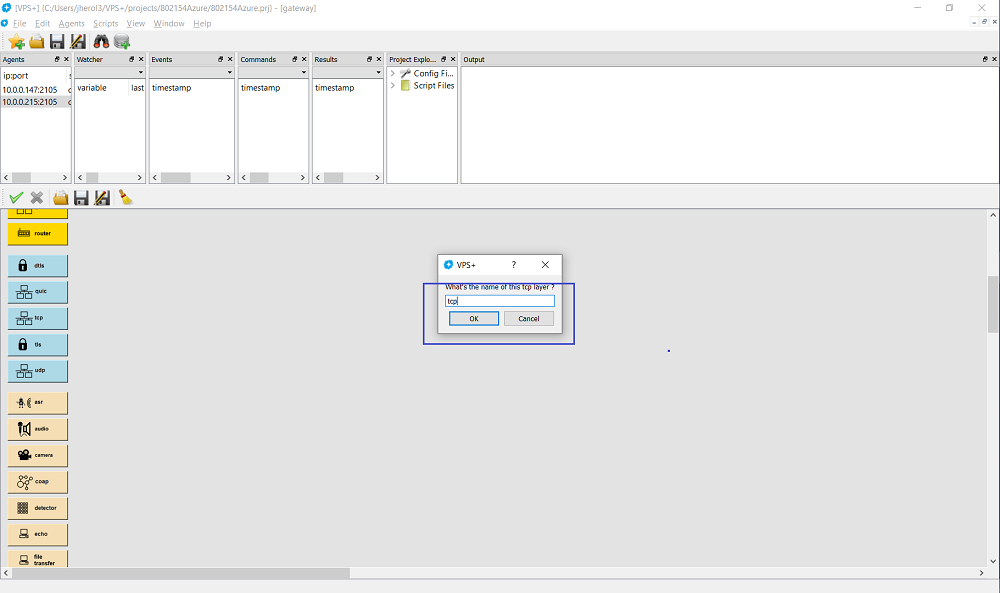
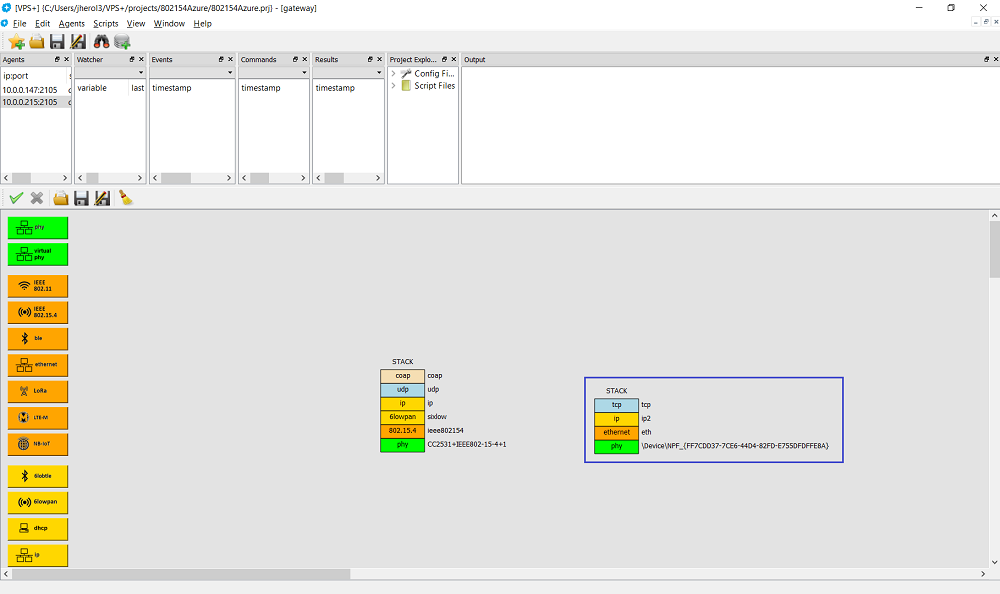
Create a TCP layer and name it tcp:
Place it on top of the ip2 layer:
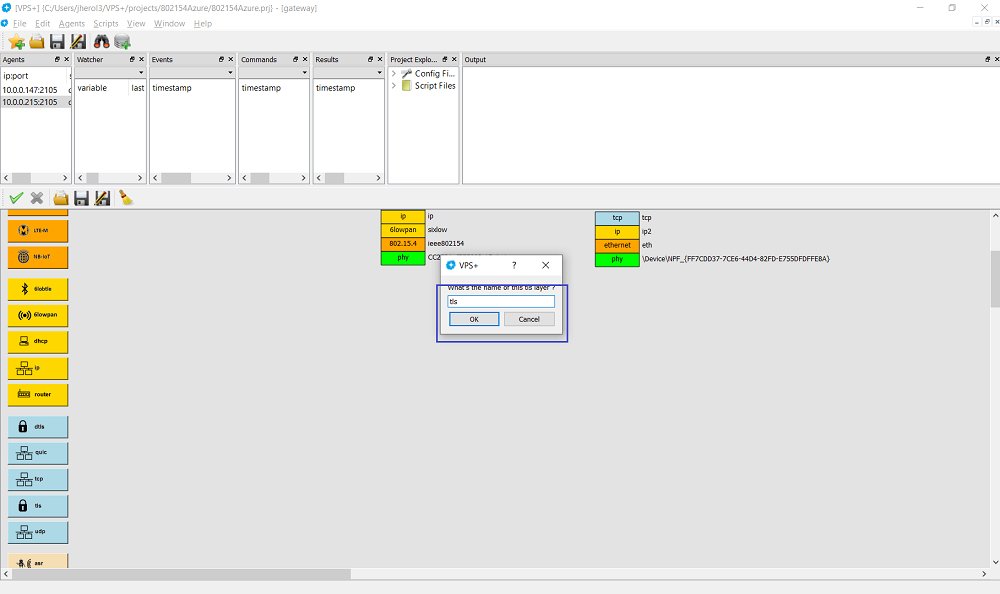
Similarly, create a TLS layer and call it tls:
Put it on top of the tcp layer:
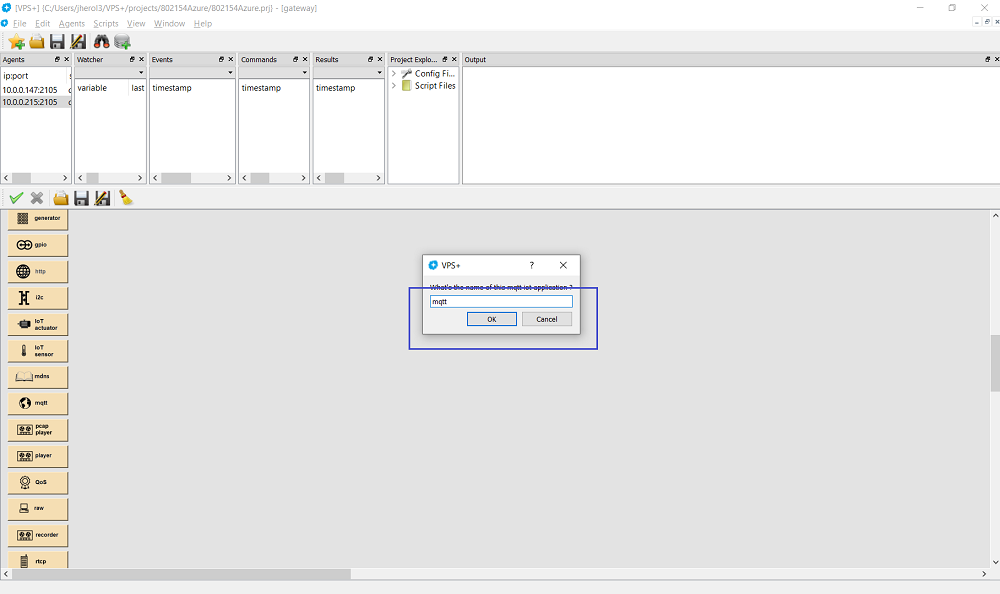
Then create an MQTT layer and name it mqtt:
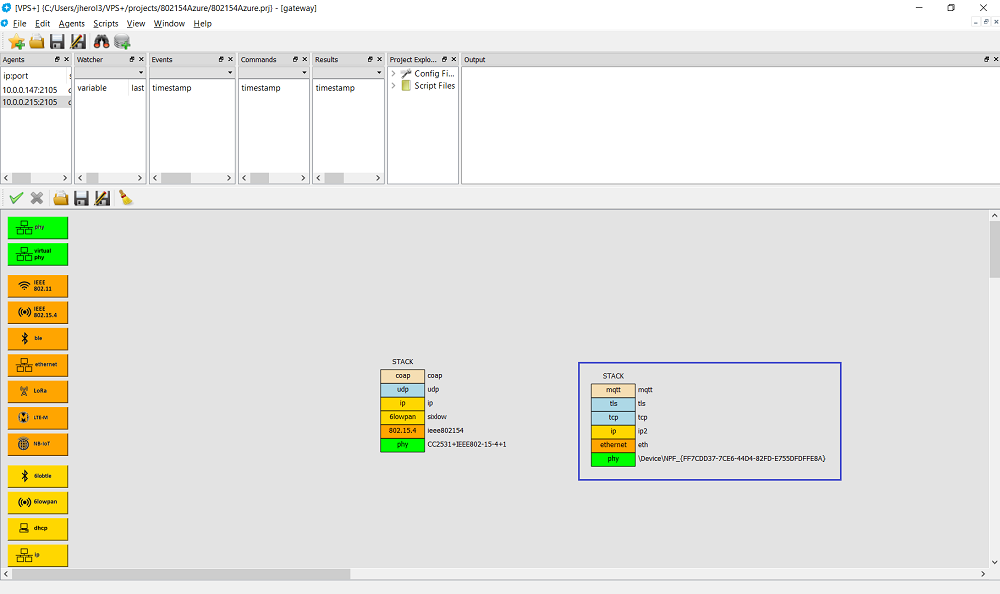
Place the mqtt layer on top of the tls layer:
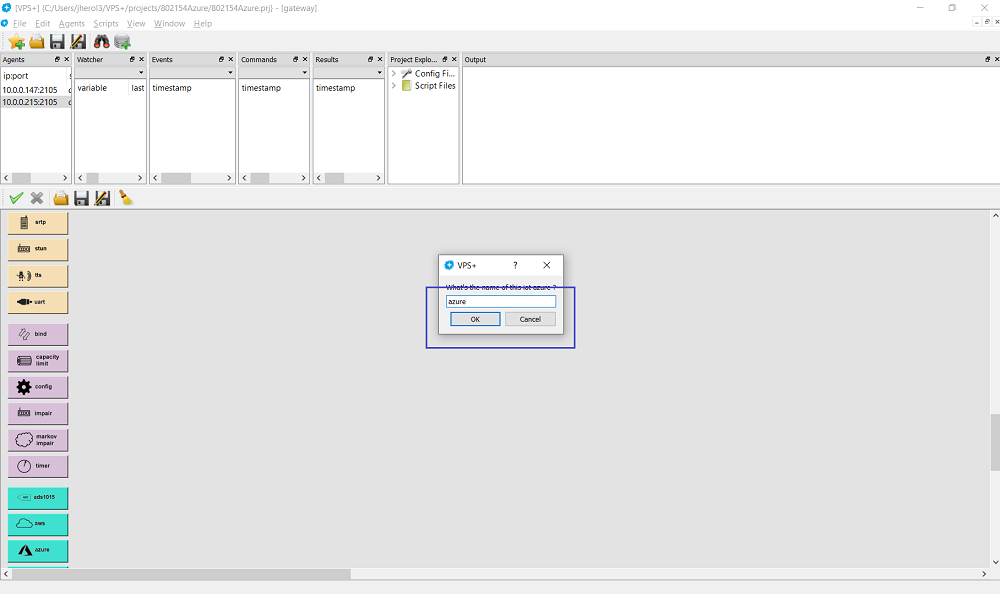
Then create an Azure helper layer and name it azure:
Put it on top of the mqtt layer:
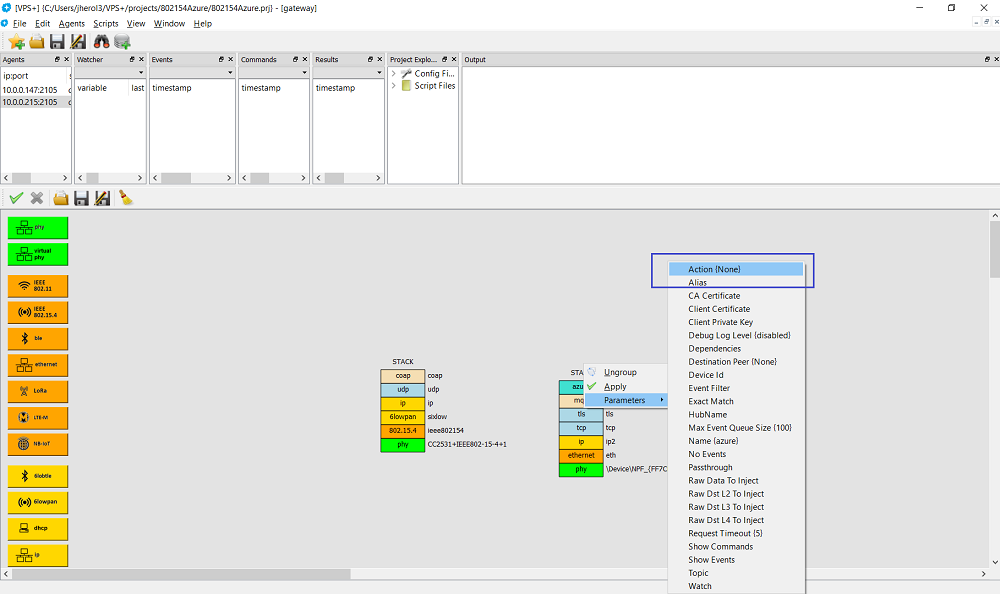
Now, let's configure the azure layer. First let's right click on it and select action:
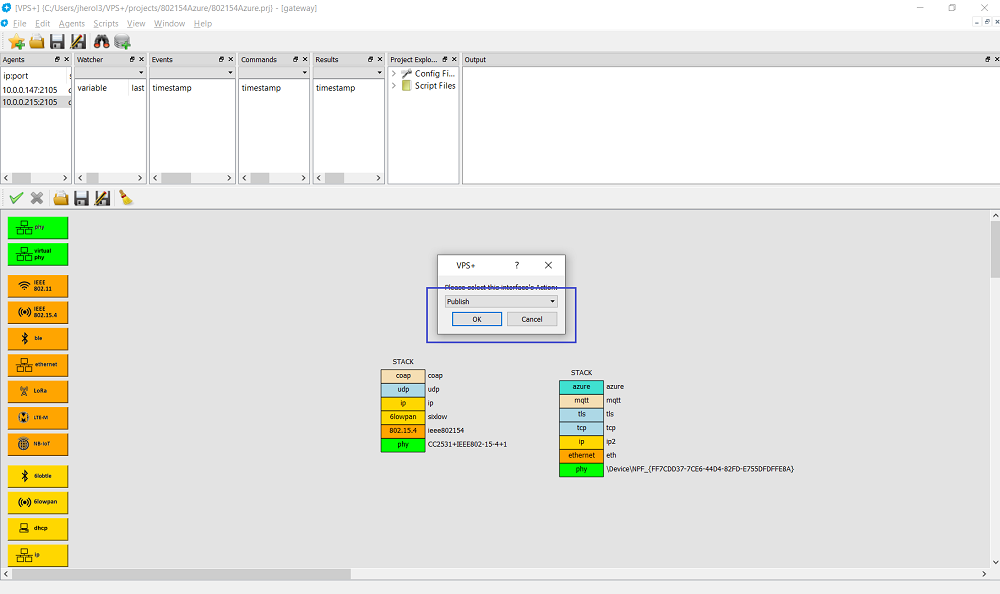
Then select Publish:
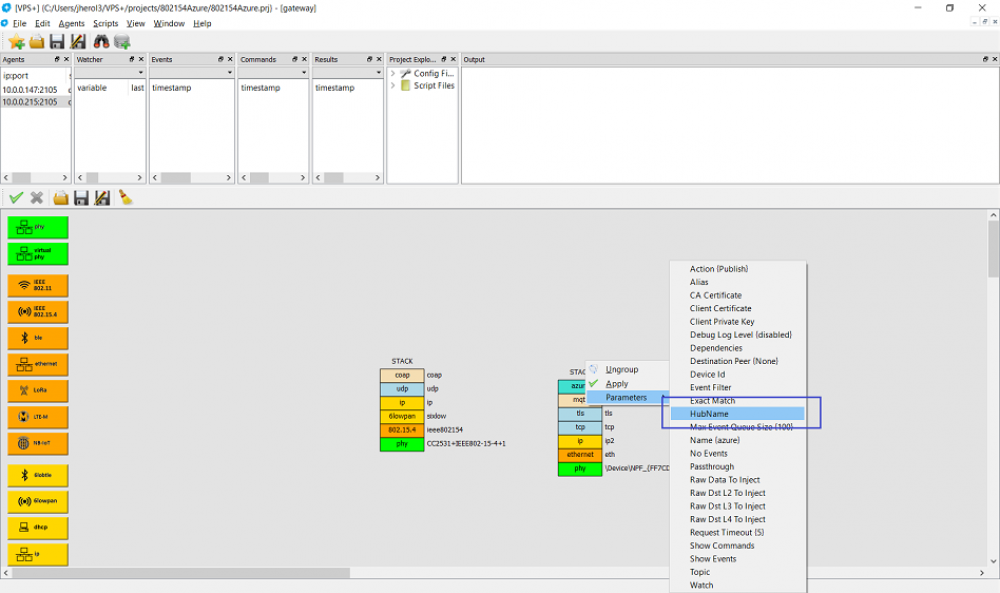
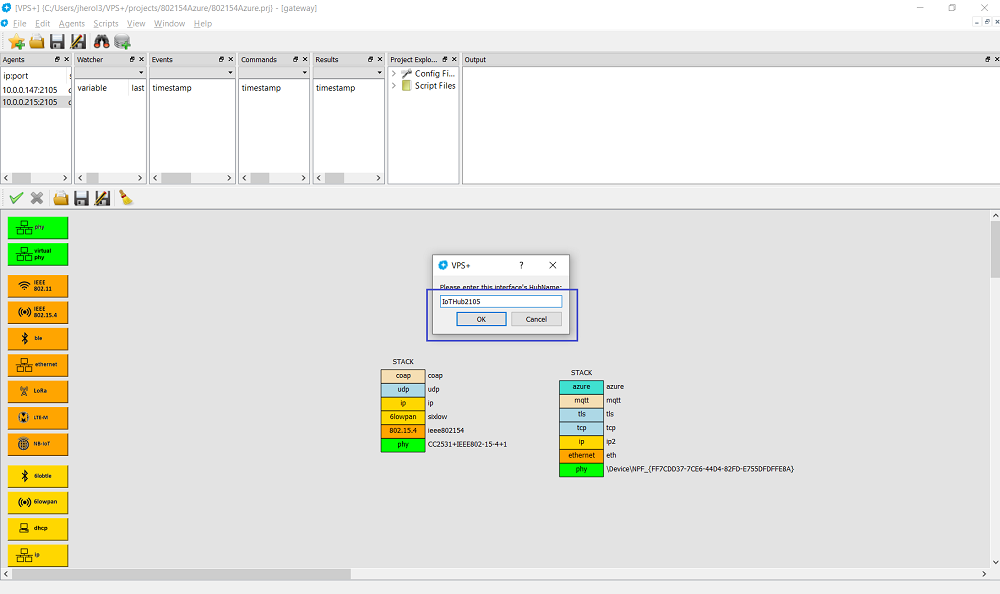
Next select the Hub Name:
And enter it in accordance with the Azure configuration:
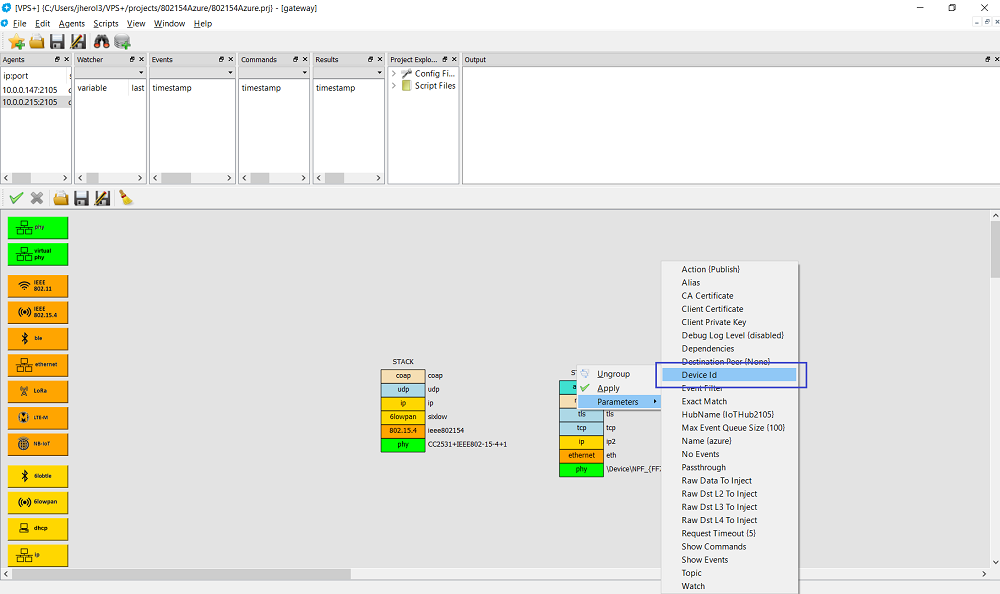
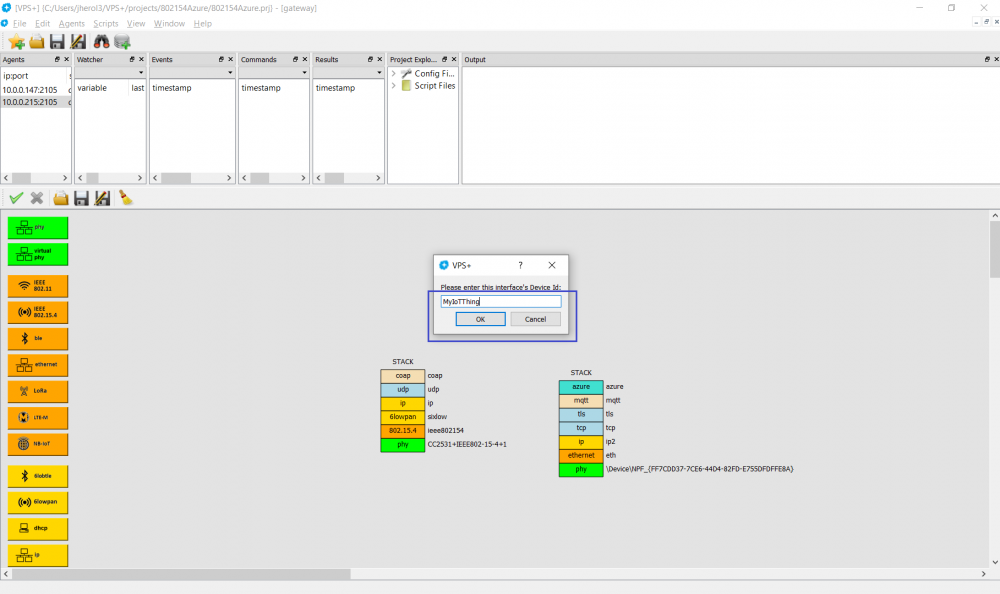
Select then the Device Id:
And, again, enter it in accordance with the Azure configuration:
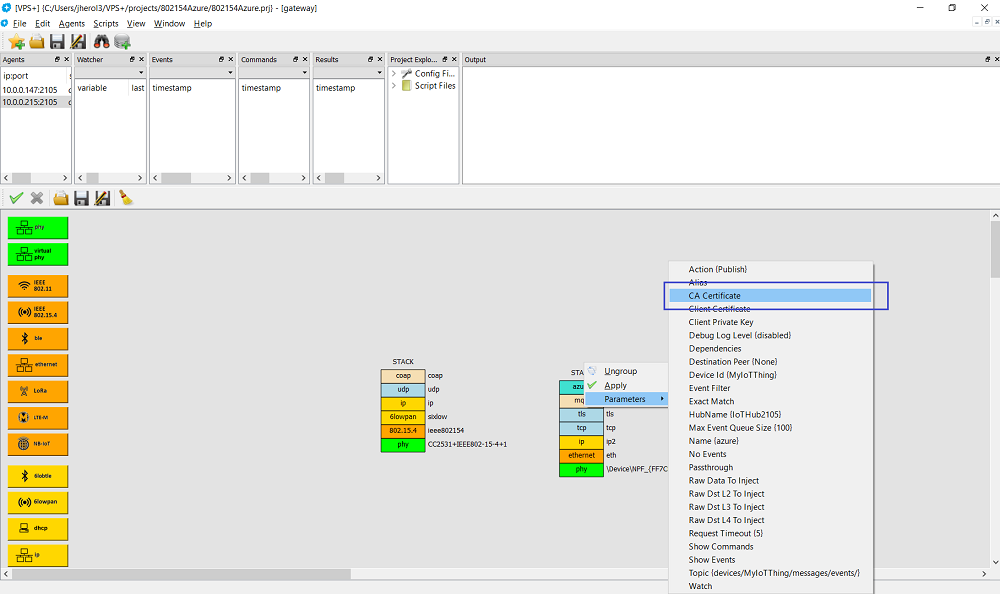
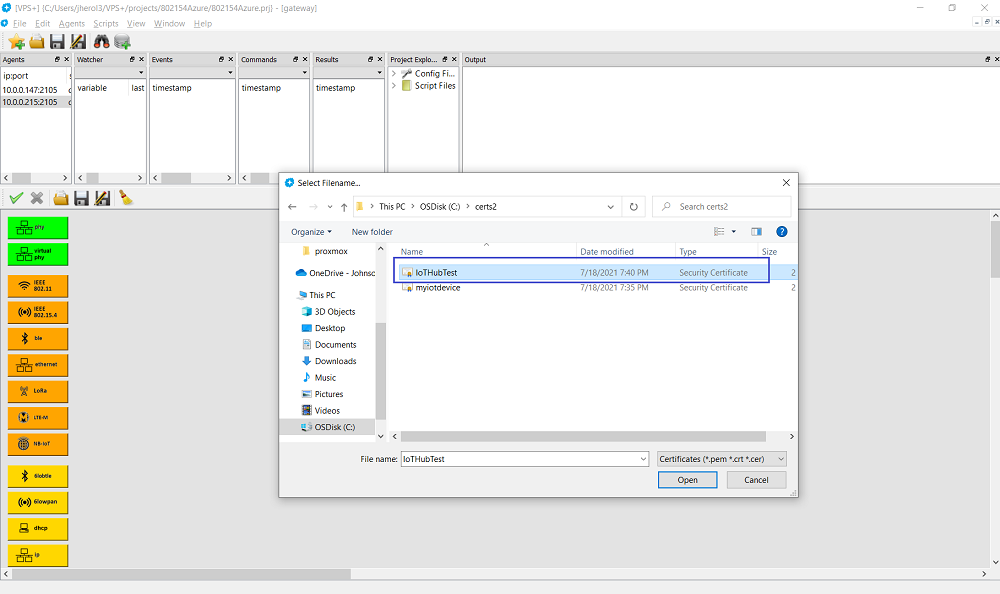
Select the CA certificate:
And fill it in:
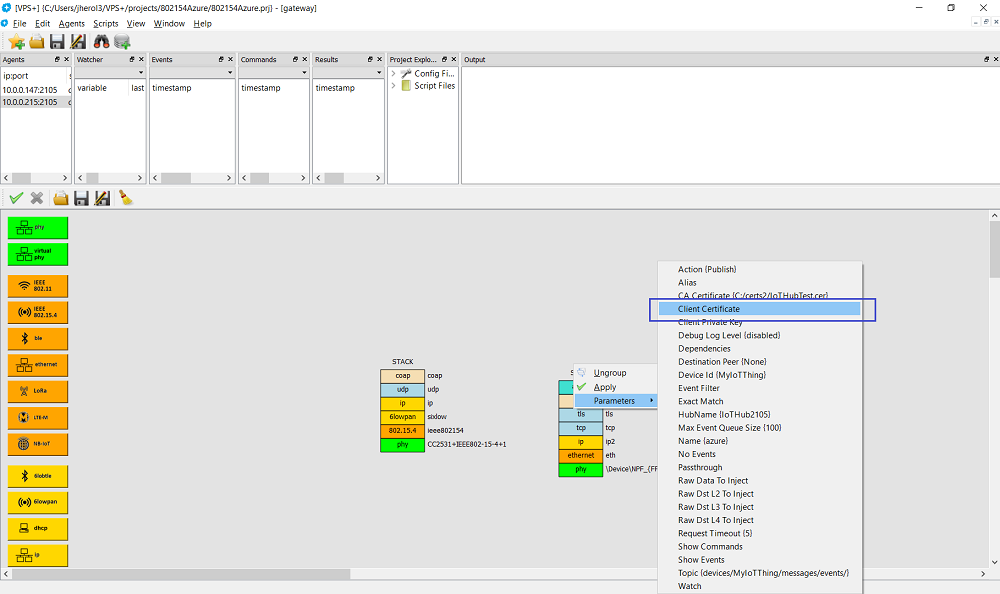
Select the client certificate:
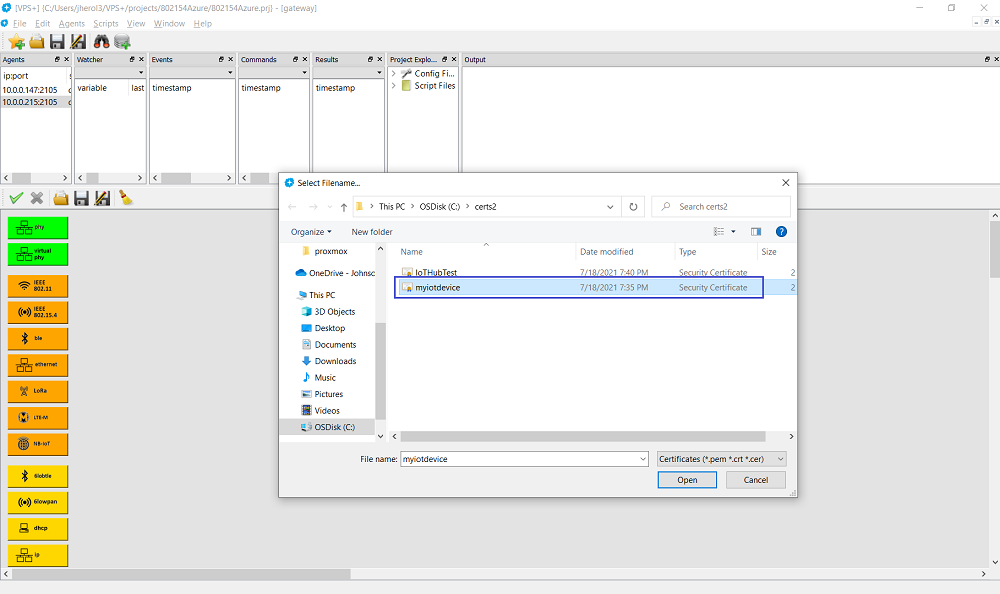
And fill it in:
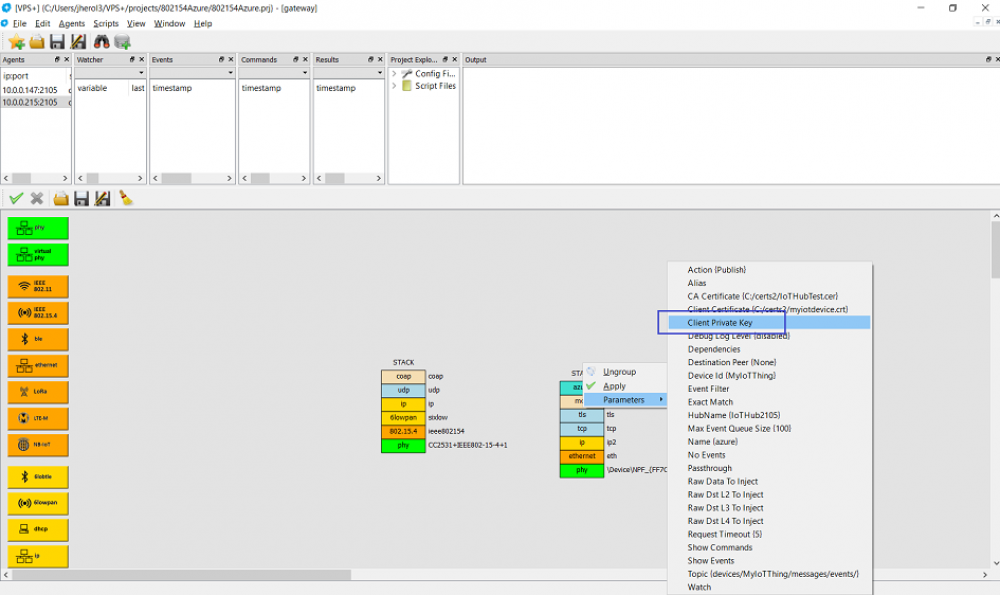
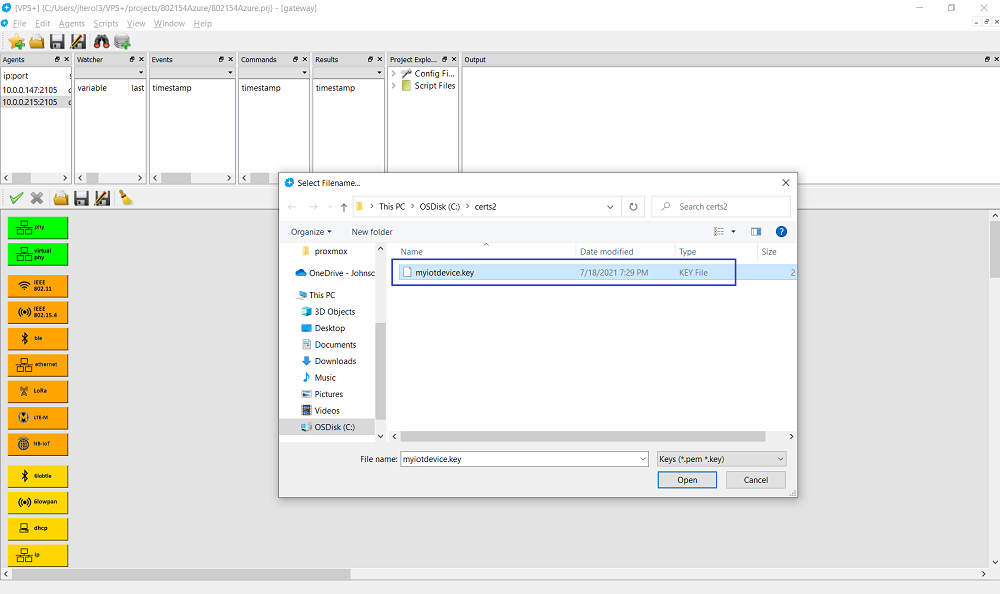
And again, select the client private key:
And fill it in:
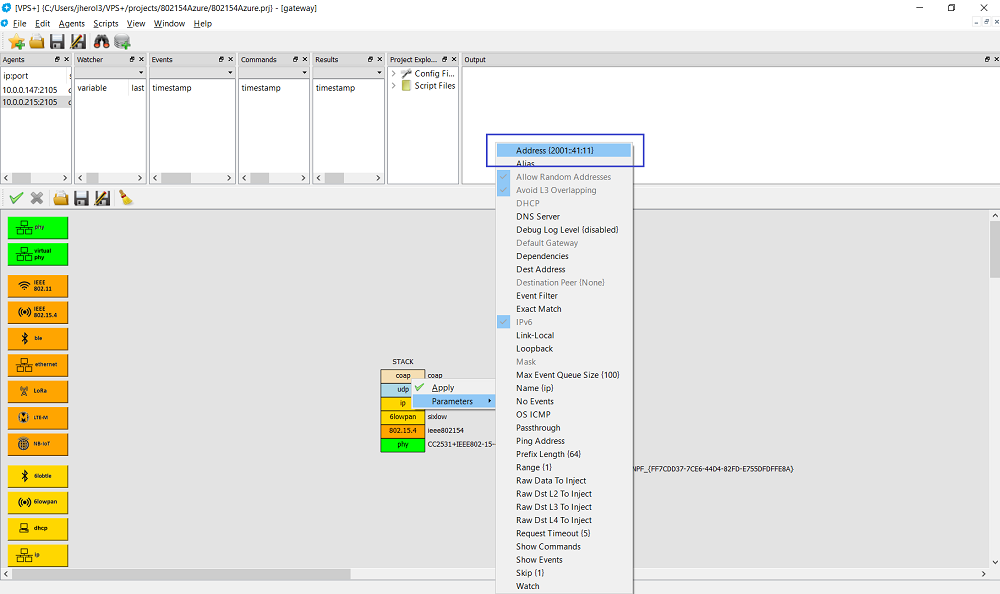
Right click on the IP layer to figure out what the IPv6 address of the IEEE 802.15.4 based stack is:
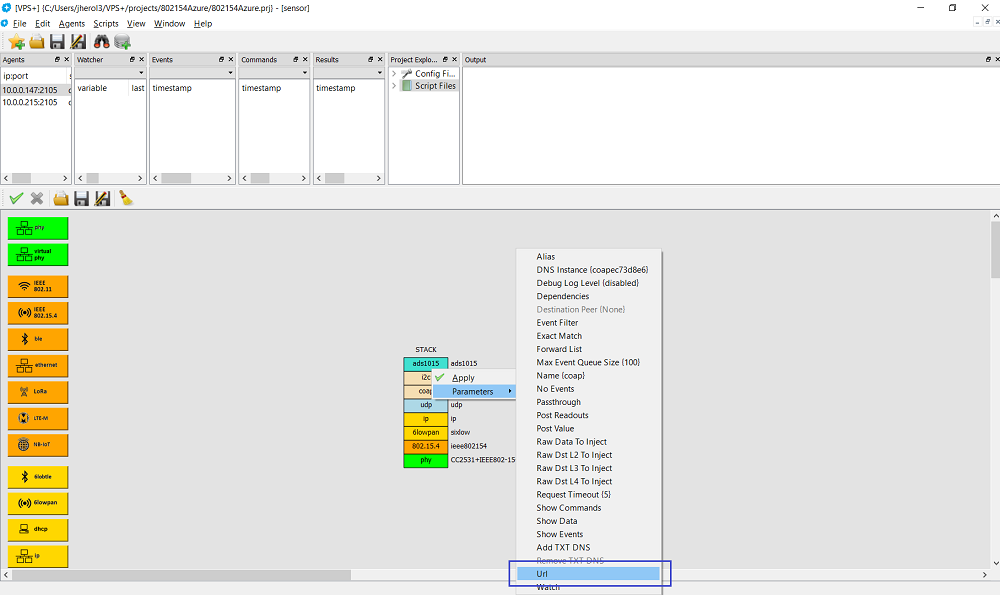
Back in the sensor IEEE 802.15.4 stack, select Url:
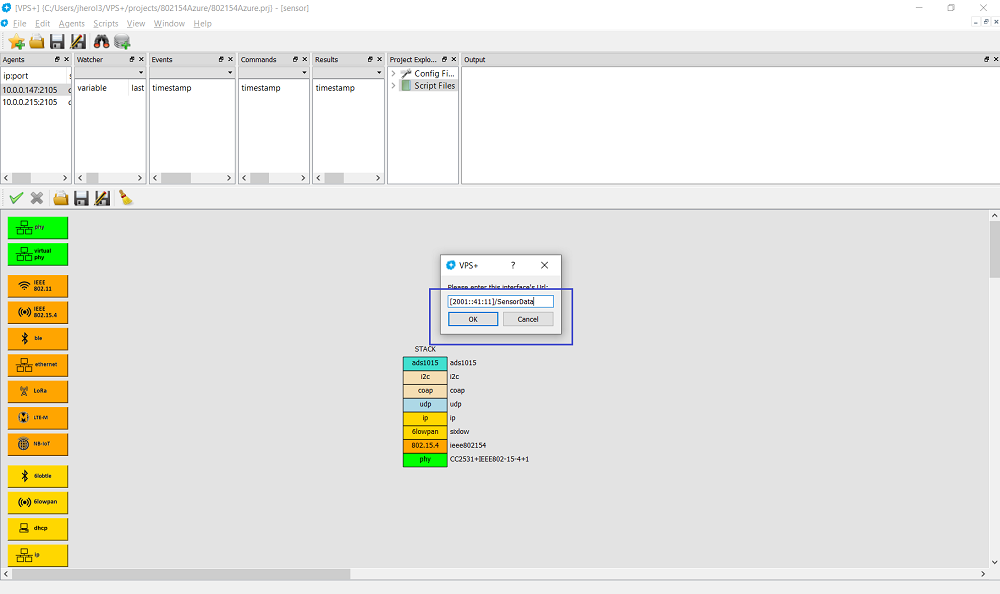
And enter the URL that results from the IPv6 address [2001::41:11]/SensorData:
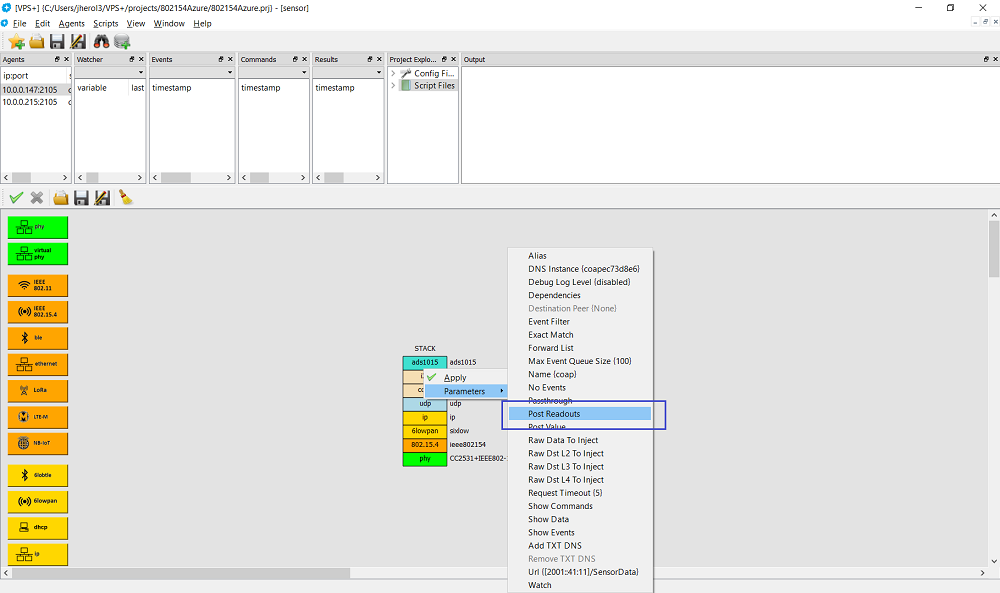
Also let's make sure to enable Post Readouts in the CoAP layer:
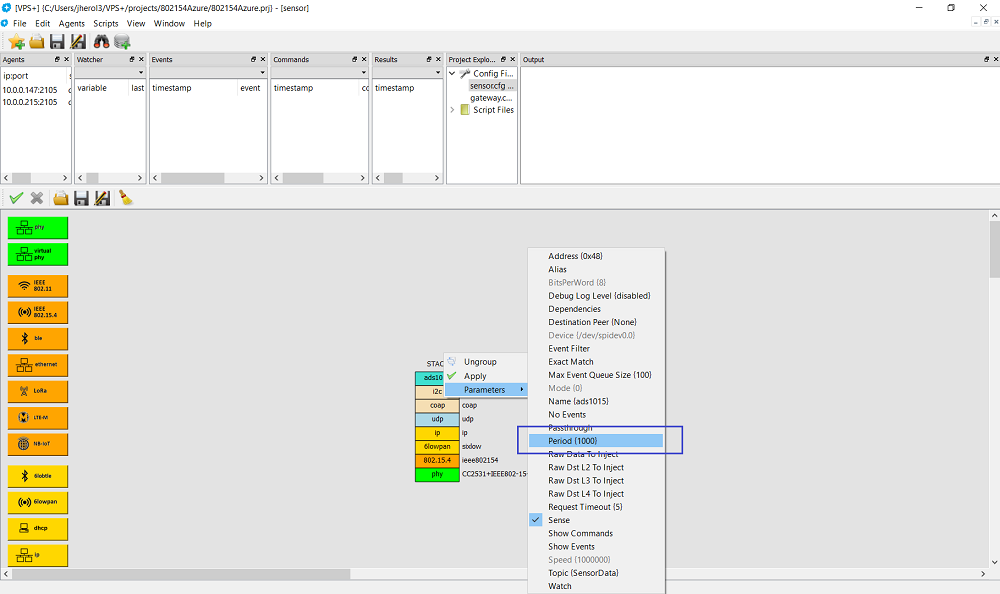
Change the transmission period on the ads1015 layer by selecting Period:
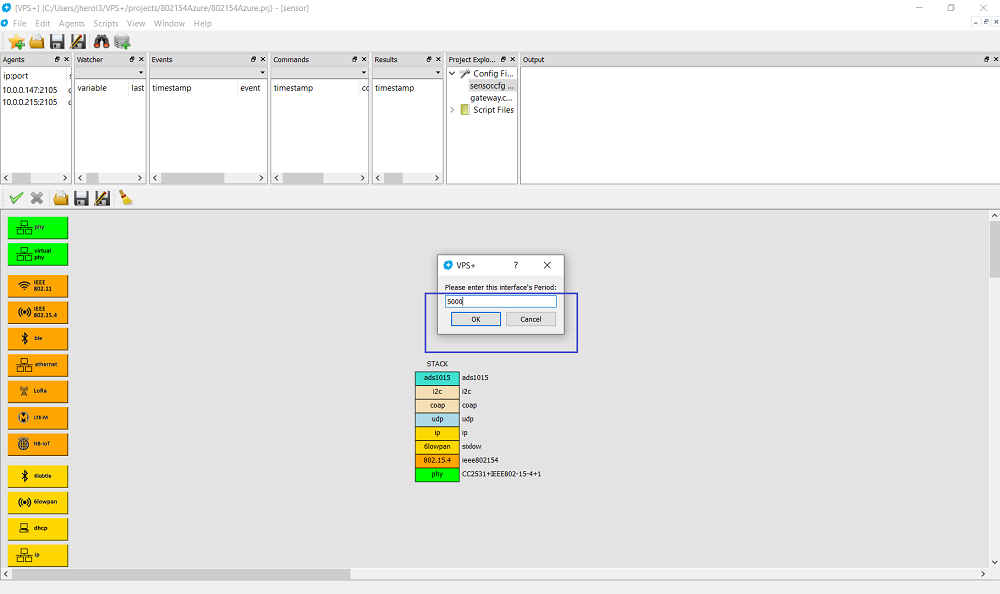
And enter 5000:
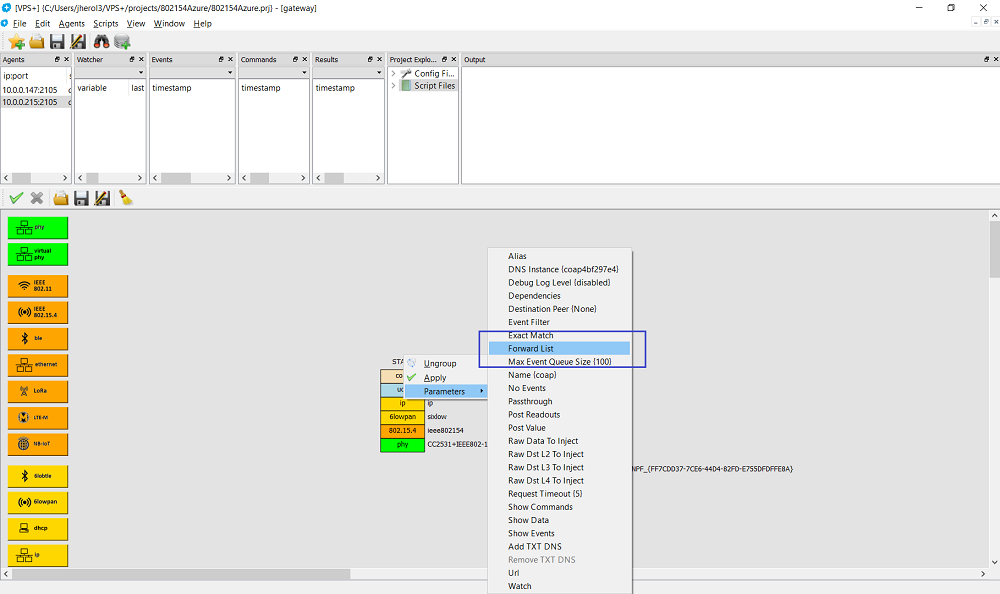
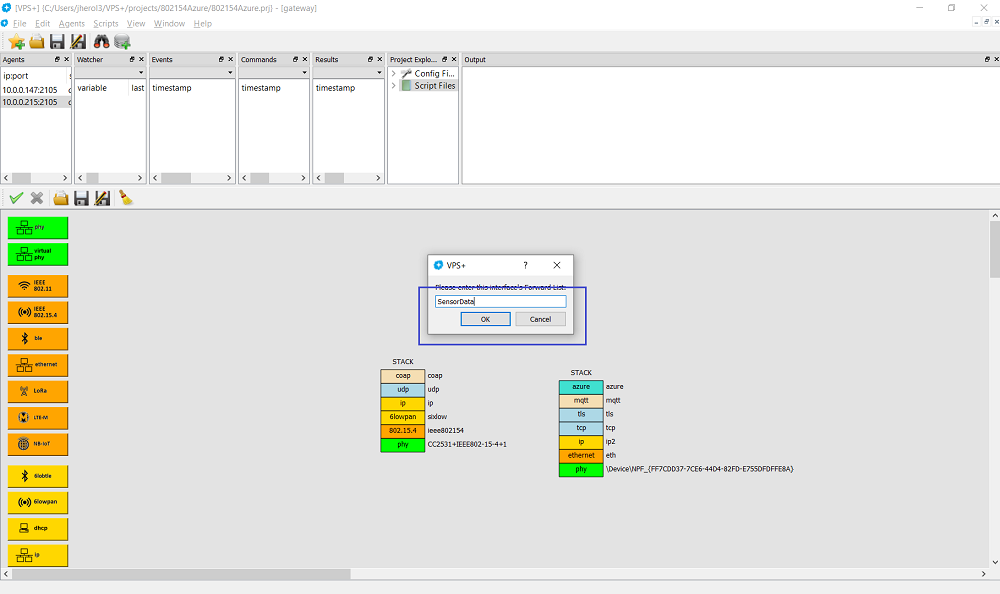
In the CoAP layer of the gateway select the Forward List field:
And enter SensorData:
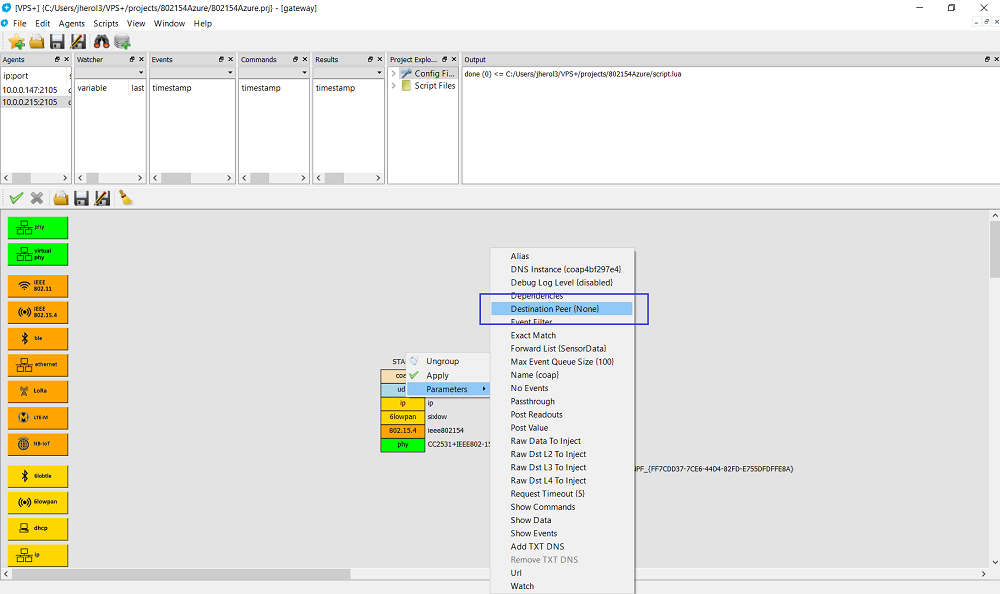
Make sure to forward traffic arriving at the CoAP layer to the Azure layer by clicking on Destination Peer and selecting azure:
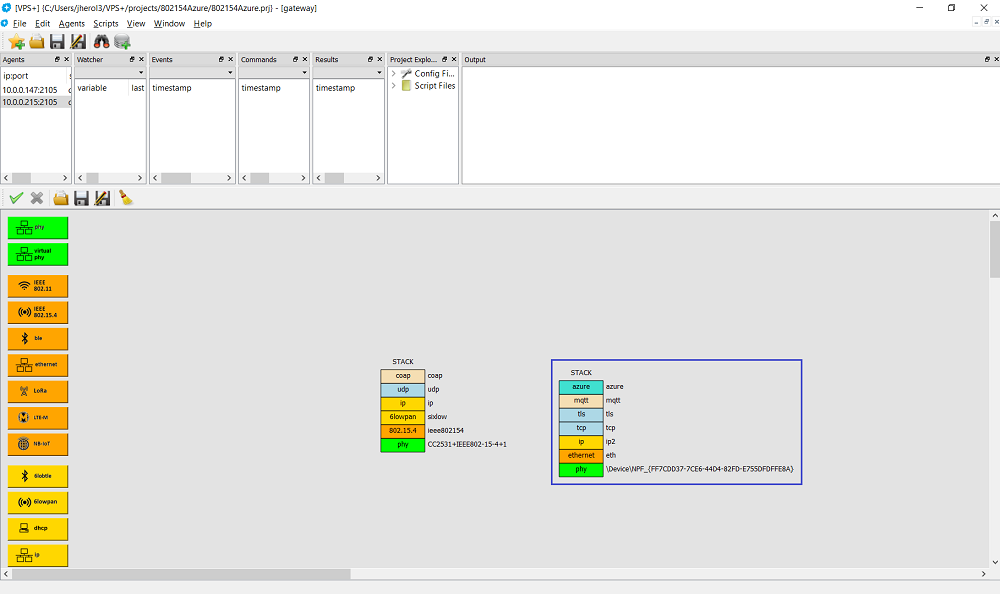
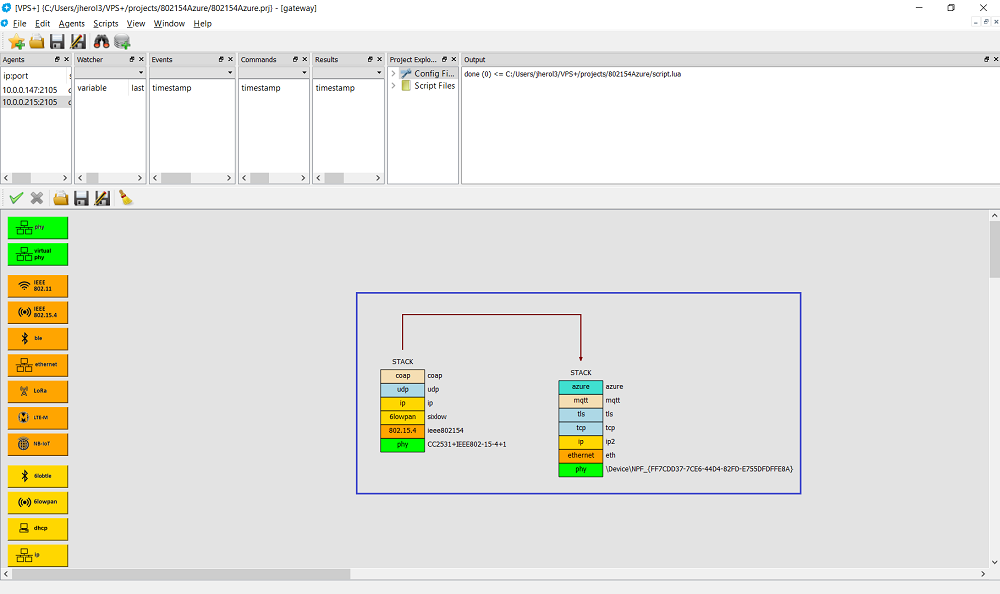
The gateway configuration then looks like:
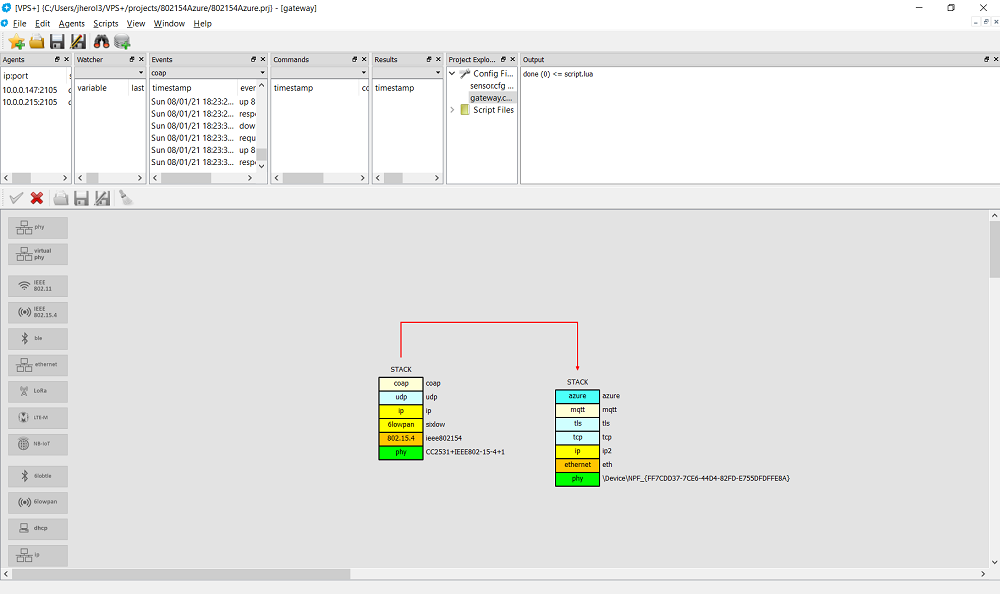
Then start the suite by clicking on Scripts ⇒ Run Suite:
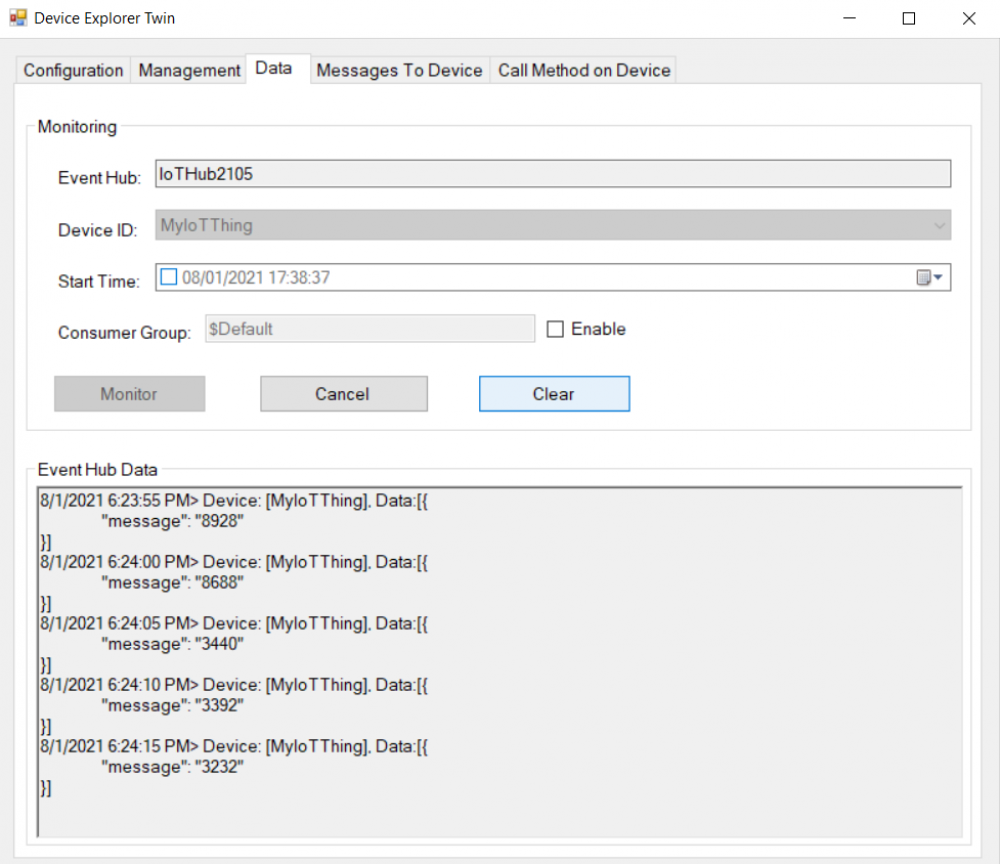
Azure's Device Explorer shows the 12-bit readouts:
